
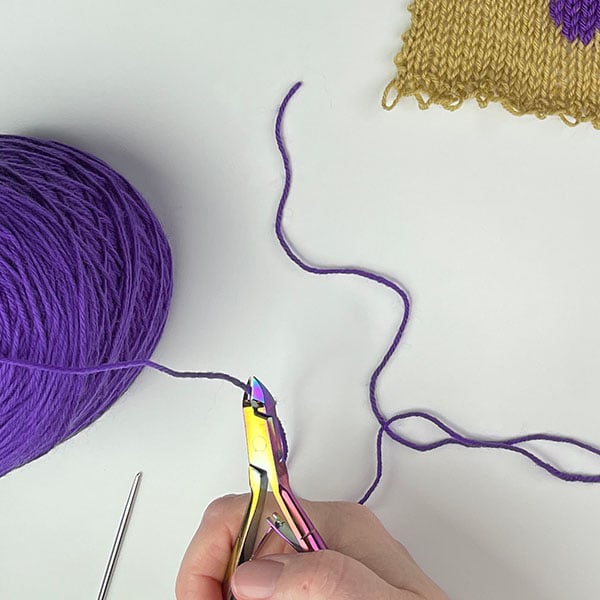
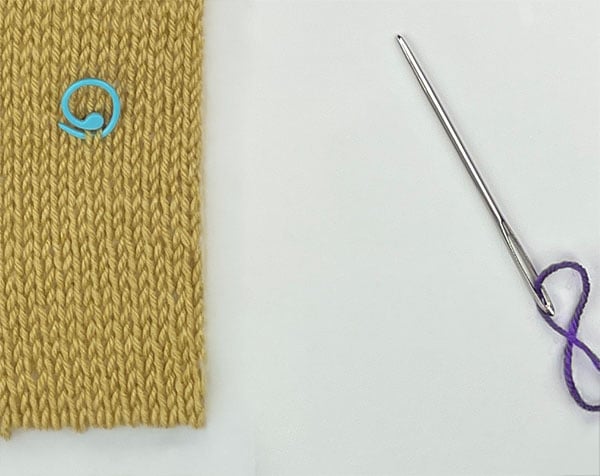
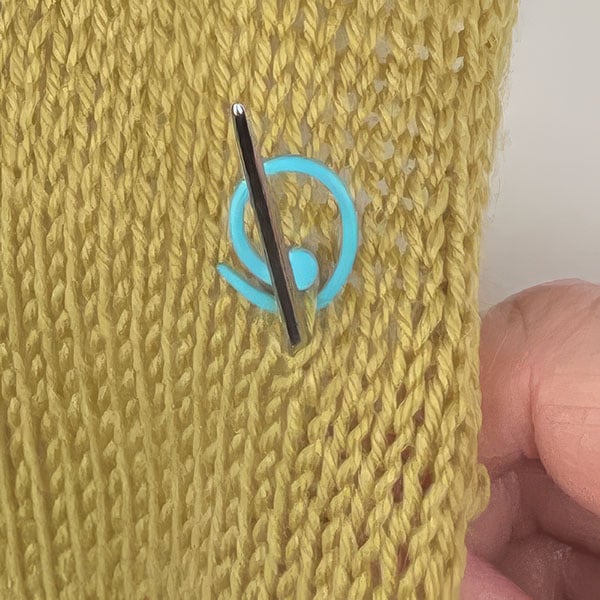
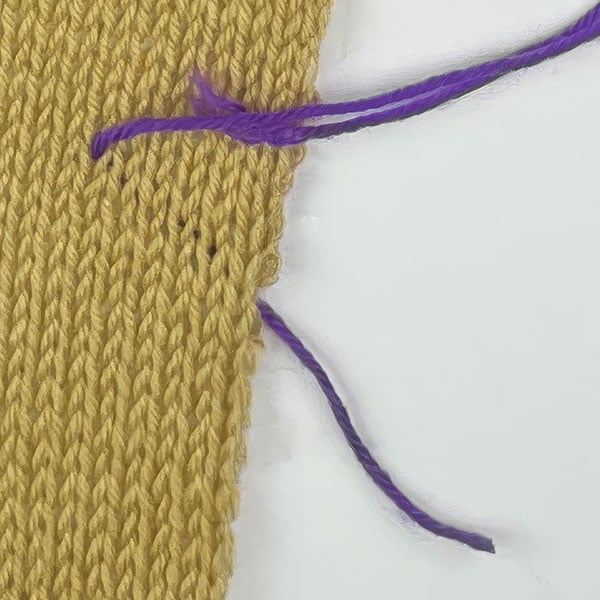
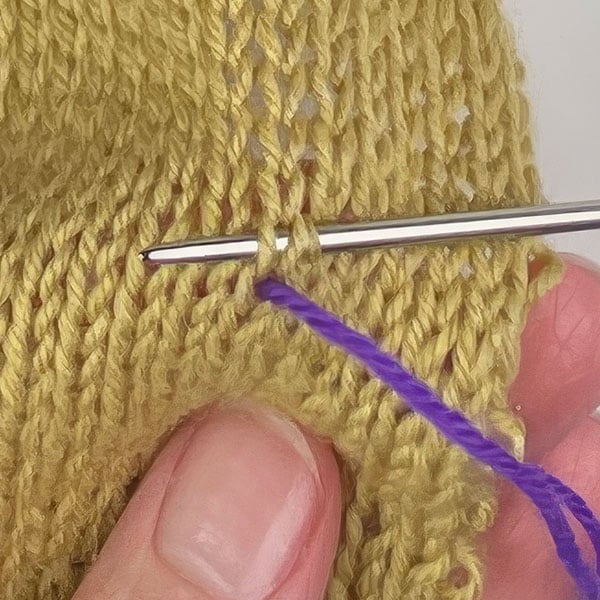
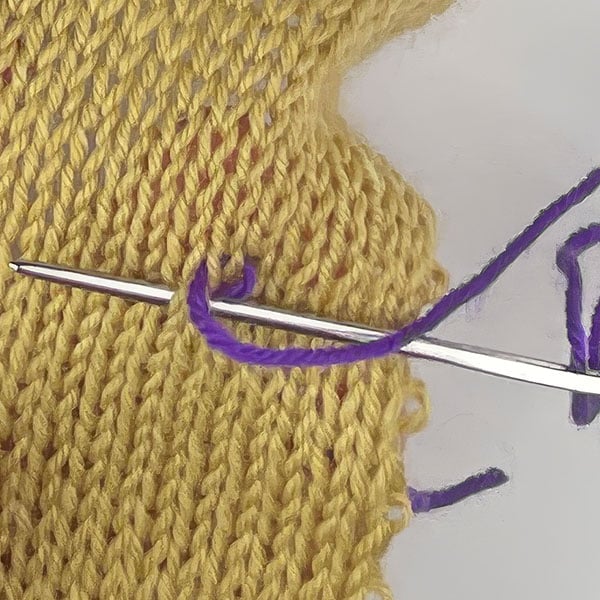
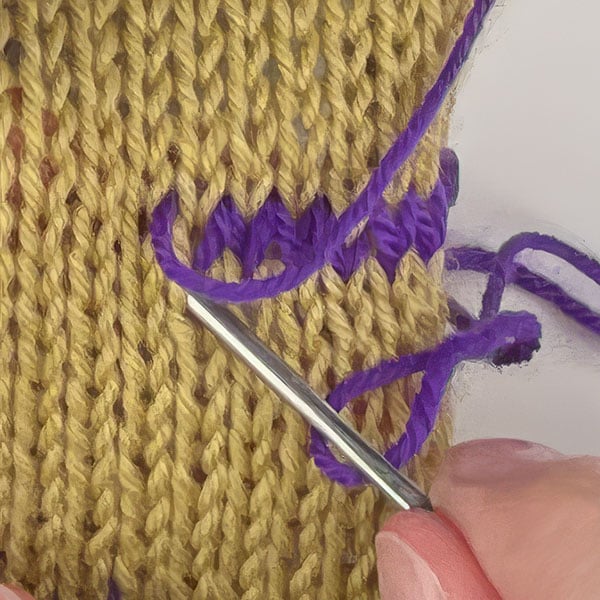
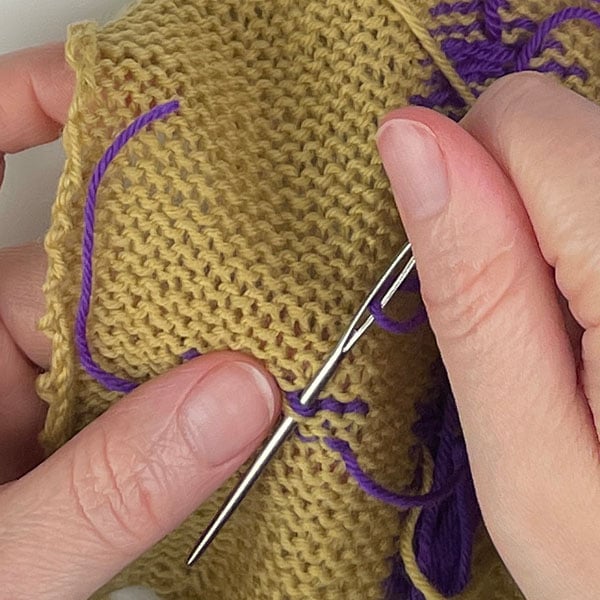
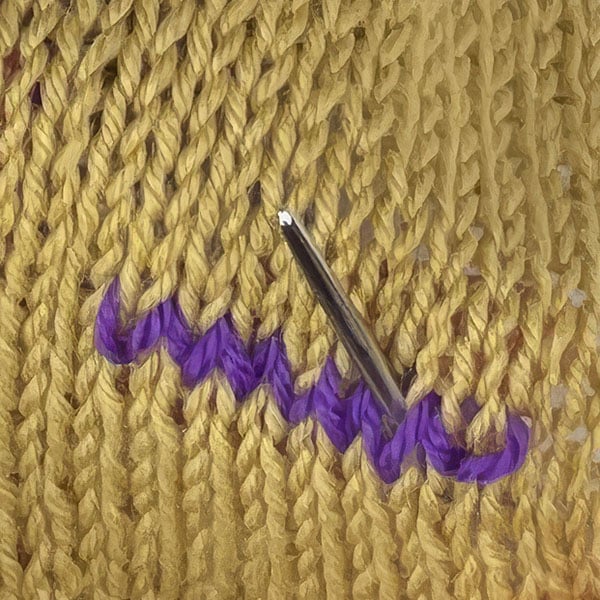
Duplicate stitch is one of those techniques that photographs like it took real skill and pattern-reading to pull off, but the trick is that all the hard-looking work happens after the knitting is done. You knit your background piece first, plain stockinette, no colorwork chart to follow as you go. Then you thread a tapestry needle with your accent color and trace it over the existing stitches, literally duplicating the path of each knit stitch on top of itself. The needle follows the V shape of the stitch below it, and that’s the whole method.
The payoff is that you get the look of stranded colorwork or intarsia, clean, graphic lettering or motifs, without carrying a second strand, managing floats, or reading two colors at once mid-row. It’s forgiving too: if you place a stitch wrong, you can pull it back out and try again without unraveling any of your actual knitting.
This makes it a good technique to reach for anytime you want to add a small detail, a letter, an icon, a single accent shape, to something you’ve already made or are about to finish. Below, we’ll walk through reading a duplicate stitch chart, threading your needle correctly, and working the stitch itself from bottom to top.
This technique is what makes the lettering on our Golden Hyacinth Monogram Square work, this month’s square in Year of Color, a free year-long craft-along with Cascade Yarns.
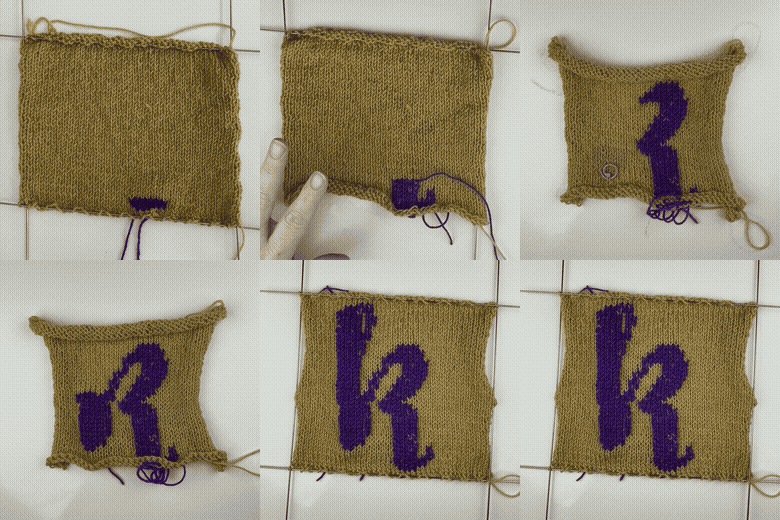
How to Do Duplicate Stitch (Step-by-Step)
Get a new square every month, free
Join over 400 makers exploring color in knit and crochet. Start anywhere, anytime.
Free forever. Unsubscribe anytime.
About the Instructor: Jody Richards

Jody is the founder and lead editor of Knotions. She loves poring over stitch dictionaries and trying out new stitches.
She’s also on a mission to get everyone to embrace the blocking. And, to avoid using garter stitch edges in knit swatches made for gauge.
And while she likes all things crafting (well ok, except that one thing), yarn crafts are her true love (and she has the stash to prove it).
Leave a Reply