 This is such a pretty stitch and isn’t very hard either. Abbye uses it for the ribbing in her Misty Cable socks.

Knitting the Herringbone Stitch
There are only a few steps to getting a pretty herringbone stitch.
First, I suggest using a larger needle than what’s called for with the yarn – one or two sizes larger. Herringbone Stitch can benefit from a larger needle! In these pics I used a US#7, and the yarn called for a US#5-US#7. If I were to do it again, I’d even go one size bigger.
Regardless of the size, I suggest pointier needles. I don’t love bamboo needles, but this isn’t the time for them anyway. You want a sleeker needle that allows the yarn to slide and a pointier one so you can work all those decreases.
Herringbone, Knit Side
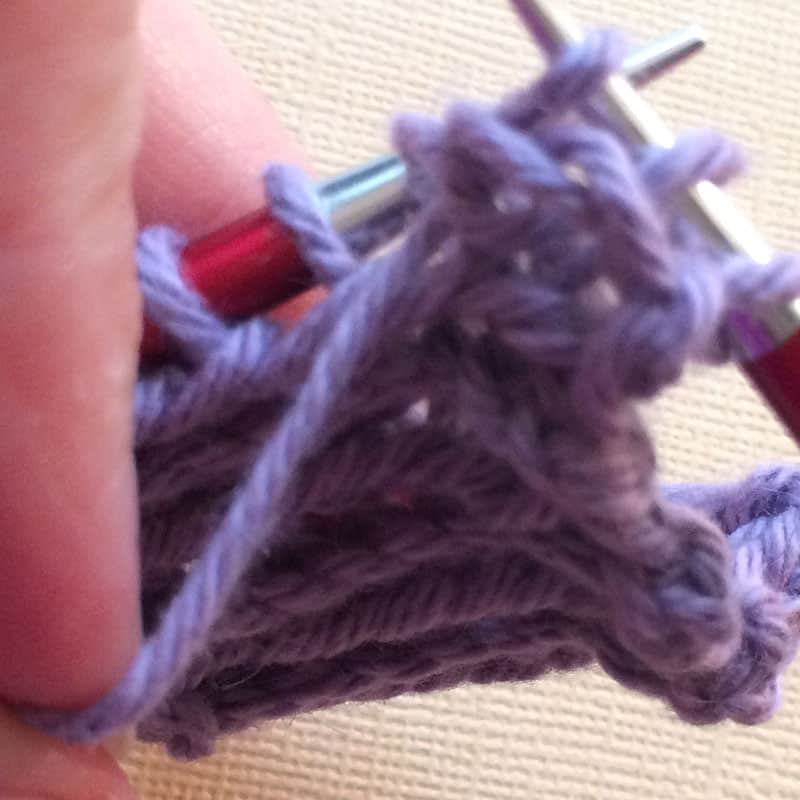
First Stitch
Ssk, drop only the first stitch off the left needle,
The rest of the row
Slp, slk, (notice how this is different than a traditional ssk – the first stitch is already oriented correctly because of the previous ssk), knit them together like a ssk, drop only the first stitch off the needle.


Finally, k1.
Timesaver: Once I get going, I actually pick up that second stitch from the ssk with my right needle so when I can slide both of the stitches off the left needle but that second one stays on my needle. It also saves me the step of slipping that stitch purlwise (it already is).

If this doesn’t make sense or you don’t want to do it – DON’T! If you follow the rest of the directions above you’ll be fine.
Herringbone, Purl Side
The Whole Row
P2tog, drop only the first stitch off the needle.
When you’re done, you’ll have one stitch left on the needle. P1.
Herringbone, After a Few Rows
Once you’ve knit 6 or so rows, you should see it setting up like below.

And here’s the wrong side

Notes
- It’s not very stretchy.
- It’s easier to work with a fiber that gives like a wool. Cotton and alpaca are more difficult.
- It’s decorative and lays mostly flat.
- It’s pretty dense.
- It’s slower to knit because of all the decreases and partly slipped stitches.
- It’s great as a decoration or for blanket and scarves when you want things to be mostly flat.
Hi! Thanks for the pictorial.
I am working this as a cowl: in the round. I’ve had a couple of common errors, one of which is to accidentally slip both stitches, and I’ve learned how to fix that. The other is what looks like a combination of an accidental YO/skipped stitch. I have had no luck finding how-to-fix instructions for this. Can you post a pictorial on fixing common mistakes in herringbone?
Thanks!
Sure!
I would have thought of the accidentally dropping both stitches. But I’m not sure how you’d do the other though. Can you give me more details on what you did? Thanks!