
Applied I Cord is a great way to finish the edge of knitting.
Why use applied I Cord?
There are several reasons you may want to add this finish to a project:
- The edge is rolling and you want to stop or limit it
- That area can use another color as the edging
- The edge of your piece seem unfinished
- The edge is jagged and you want to smooth it out
Choosing the Right Needle
I suggest using a needle that grips (like bamboo or another wood). You’ll likely be allowing the needles to dangle a bit and you don’t want them to slip out.
Needle Size
If you have it, I’d recommend using the same size needle that you used for the piece. If you don’t have it, going down a bit in size will probably work. If you’re not sure – swatch.
BTW I say go down a bit because you’ll be picking up a stitch on each RS row and this will make it easier.
But like I said – if you’re unsure – swatch. I know you probably hate that idea but you’ll hate it a lot more when you’re halfway through and you don’t like it.
How to knit an applied I Cord
Knitting an applied I Cord is quite easy and a good technique to learn. If you know how to knit an I Cord you’re ahead of the game.
You do need 2 DPNs. While you can also do it with a circular needle it will be much more effort to do it and you’ll end up hating this technique.

How Many Stitches Should I Pick Up?
In general, if your edging is going parallel to the work, you should pick up 1 for 1 – meaning every row should be picked up.
If your edging is going perpendicular to the work, you should pick up 2 sts out of every 3.
I say in general because the stitches used, the individual knitter and the yarn all have impact on this ratio.
Knitting the I Cord
Step 1: CO 3 onto a DPN (you can do more than this but I would recommend not doing less)

If your project needs you to join the starting and ending edge together once you’re done, you’ll want to CO provisionally and then Kitchener at the end to join them.
Step 2: Slide the sts to the right (without turning).

Step 3: Take the working yarn along the back and tightly hold it across. Not strangling tightly but the next stitch should look like it comes naturally from the previous stitch. If you’re new to this technique, try it out on some scrap yarn. I’d recommend using a similar yarn (weight and number of plies) to your final project yarn but the exact yarn you use is up for grabs.
Step 4: K2.
Step 5: Slip the next st purlwise.
Step 5a: If you’re working the I Cord in a different color, YO. If you’re working it in the same color, skip this step.

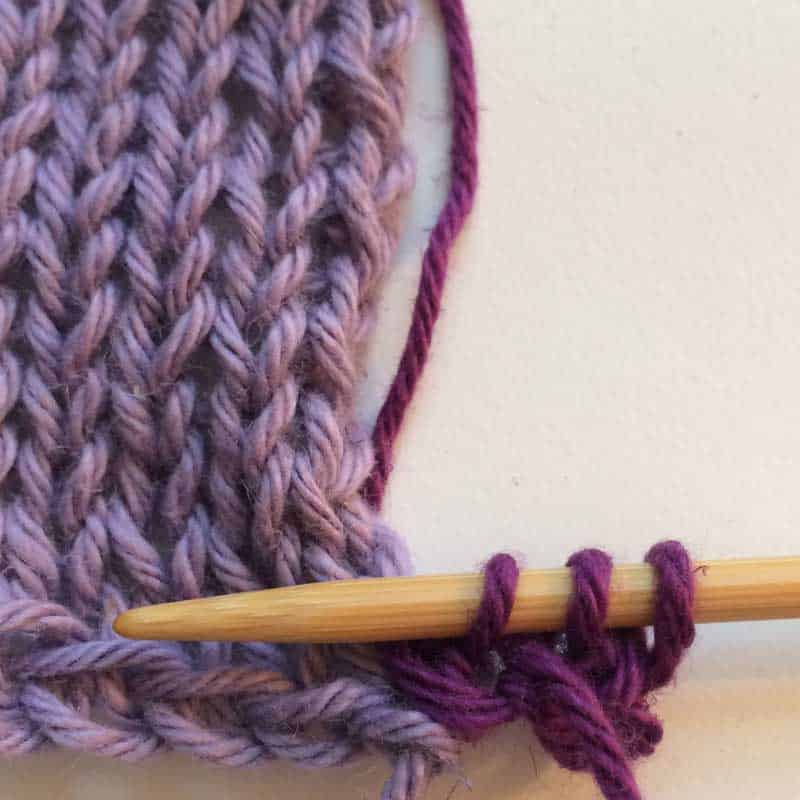
Step 6: Pick up a stitch from the project you’re attaching the I Cord to. Knit it. (be careful to use the working yarn and not the yarn from one of the tails)

Step 7: Psso (you’ll be passing the st from Step 5 (and also the stitch from Step 5a if you needed to do it) over the stitch in Step 6. You’ll still have 3 sts on your DPN and your I Cord will now be attached to your work.
Repeat from Step 2 until the end.
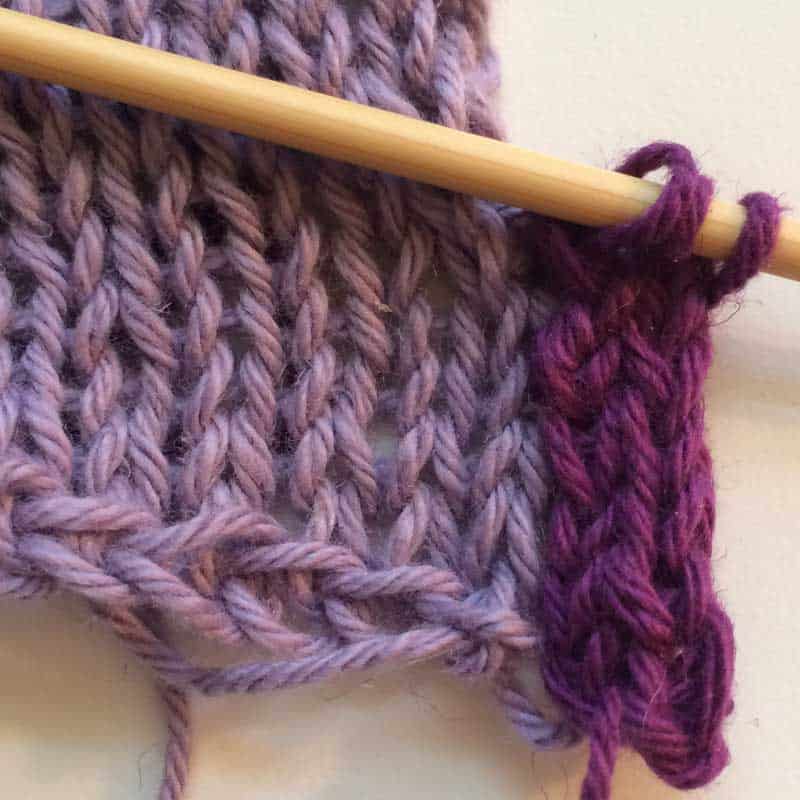
Here’s what an applied iCord edge looks like after a bunch of rows are worked.
Binding Off
If you don’t need to join the 2 ends of the edging, you simply bind it off the regular way.
If you do need to join the 2 ends you may want to look at our Kitchener tutorial (and you should have cast on provisionally like we said above).
See? I told you – easy and neat.
Want to learn a new technique every month?
Year of Color 2026 is a free craft-along where we release a new knit and crochet pattern each month, each one built around a technique you might not have tried yet. Free forever, one square a month.
About the Author: Jody Richards

Jody is the founder and lead editor of Knotions. She loves poring over stitch dictionaries and trying out new stitches.
She’s also on a mission to get everyone to embrace the blocking. And, to avoid using garter stitch edges in swatches.
And while she likes all things crafting (well ok, except that one thing), yarn crafts are her true love (and she has the stash to prove it).

Can I use this technique to join afghan squares together?
That’s a great question.
While you can’t use this for joining since it creates a finished edge, you can probably do something similar.
What exactly are you trying to do? Do you want to create a band in the middle of the two squares? Or, do you want them to go together without anything extra? (this can help me try to figure out a suggestion)
Thanks for an excellent tutorial!
You’re so welcome!
Hi this is great thank you.
Could you tell me the colours/brand of wool used please.. such striking purple colours!
Many thanks Julie
Thanks! I’ll need to find the skeins. I’m pretty sure that I used a linen or cotton blend though (not wool). Is that ok?
Yes that’s fine! I just adore the colours
cool – thanks!
Is there a way to hide multiple ends (from a temperature blanket) inside the Icord edge?
absolutely! i would bring the end into the middle of the i-cord. i think i’d first weave the end into the edge of the i-cord to lock it first.