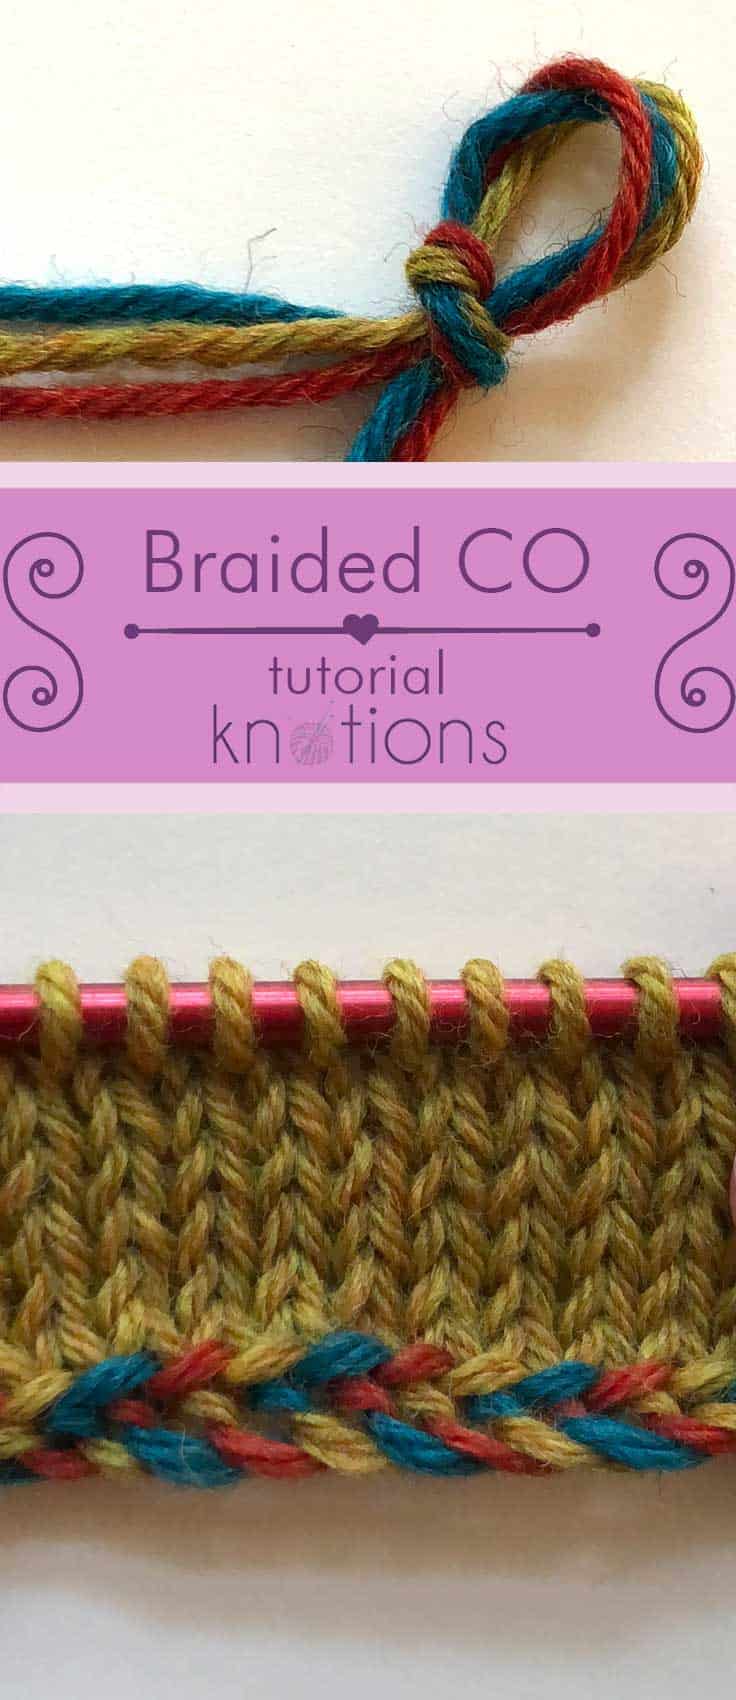
Learn a new cast on!
I love adding to my bag of tricks, and this decorative cast on is a great way to add a little extra to a project. Plus it’s not hard to work. Here’s how.
Materials
You’ll need 3 colors of yarn for this cast on. Technically, you’ll need 3 strands of yarn, so you could even do this in just one color. But 3 coordinating colors look best in my opinion.
How to Do the Braided Cast On
Step 1
Knot the 3 yarns together and slip them onto the RN. You don’t need a long tail, so I just leave 6 or so inches to weave in later. DO NOT COUNT THIS KNOT IN YOUR CAST ON NUMBER.
You only work with 2 yarns at a time, and the third is held out of the way.
Step 2
Exactly like you do in a long-tail cast on, drape one yarn over your thumb and one yarn over your index finger.
That third yarn is just hanging out waiting for its turn.
Cast on 1 stitch.
Step 3
Rotate yarns. Drop the yarn on your index finger and take the yarn on your thumb and move it to your index finger. Now, take the third yarn that was just hanging out in Step 2 and drape that over your thumb.
Using those 2 yarns, cast on another stitch with the long-tail cast on.
Repeat Step 3 until all your stitches are cast on. Remember, DO NOT count the knot you made in Step 1.
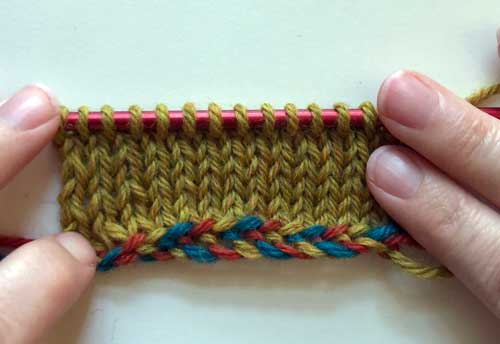
If you’ve done this correctly, you’ll have a repeating order of Color 1, Color 2, Color 3 on your needle.
And if you look at the bottom, you’ll see this pretty knotted edge.
At this point, you can clip the colors of yarn you don’t need. Again, leave a 6″ tail for weaving in later.
Where to Go From Here
If you’re knitting the piece flat, the first row you knit will be a WRONG SIDE ROW. Once you get to the starter slip knot THAT ISN’T COUNTED, you can slip it off the needle and pull it to unknot it.
After working a few rows
Once you’ve worked a few rows, you can really see the pretty edge.
Uses
You can use the braided cast on just about anywhere. Here are a few ideas:
- colorwork
- mittens or mitts
- scarves
- shawls
- socks
- sweaters
The cast-on can be stretchy if you make your long-tail stretchy. Here’s a tip on how to make your long-tail cast-on more stretchy.
About the Instructor: Jody Richards

Jody is the founder and lead editor of Knotions. She loves poring over stitch dictionaries and trying out new stitches. And while she likes all things crafting (well ok, except that one thing), yarn crafts are her true love (and she has the stash to prove it).
She’s a serial starter-of-projects and has a serious problem with finishing things without a deadline.
And don’t get her talking about hand-dyed yarns. You’ve been warned.


Fabulous! Love this idea. Going to try it today.
Yay! So glad you like it. It’s an easy way to add a little extra.
Where do you think you’ll use it?