The Pastilles Hat uses the Bubble Stitch. It’s a great way to get a second color in your knitting without stranded knitting. That’s right – you don’t use more than one color per row!

This ingenious little stitch shouldn’t scare you off though. Here are some step-by-step photos in case you’re intimidated.
The cool thing is you only need to do something a bit funky in one row to get the pretty orb of color that you see in the hat.
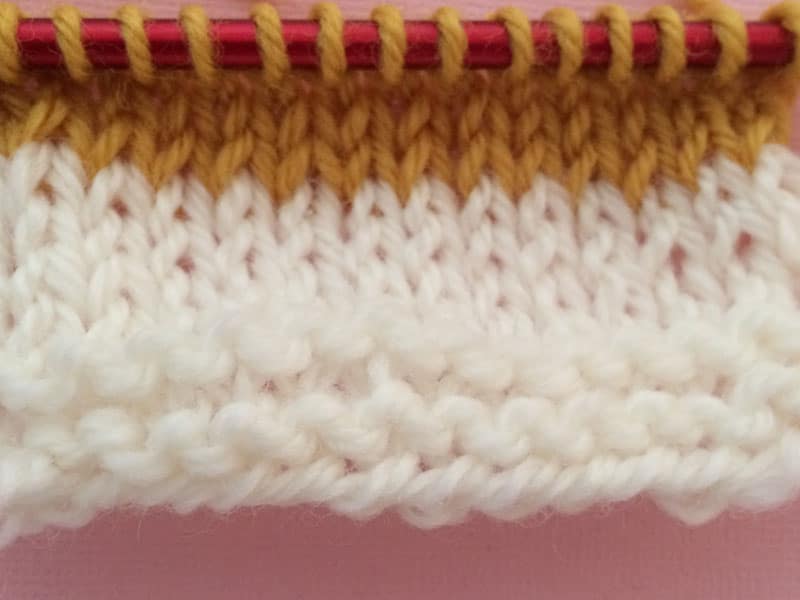
Since I just did a swatch, I CO with 4x+3 (15 in my case). I did a few rnds in garter stitch and then a few rnds in St st to set things up.

Step 1: Using the contrast color (the color the bubble will be in) knit around for 4 rnds. Yes, just plain knit.
Step 2: (this is the step that requires a bit more effort). Using the main color (in our pic above it’s the dark grey), *k3, bubble wrap* to the end. Since I did the swatches flat I did *k3, bubble wrap* until 3 sts rem, k3.
Working the Bubble Wrap Stitch
Drop the stitch off your left needle.

And unravel down to the 5th row. This will be down to your Main Color again.
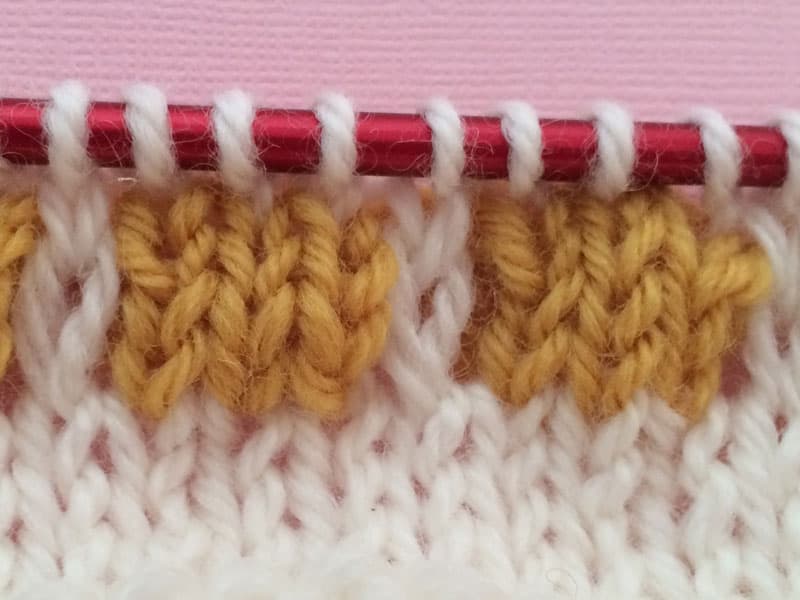
Knit the stitch (in grey above, or in white in our sample) and catch the unraveled stitches behind it as well.

In the Pastilles Hat, the Bubble Stitch has 3 knit stitches in between it. So, those 3 stitches are what makes up the actual bubble. Work up a swatch using 2 different colors if you’re not sure what I mean.
After you’ve worked a plain rnd after the bubble stitches, it will look like this.

And here you can see the WS as well.

Pretty, right? And again – you’re only working with a single color in each row.
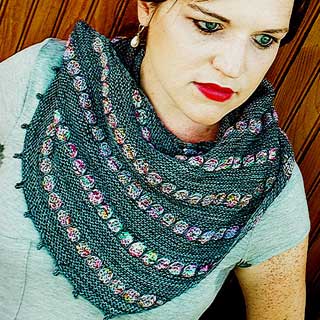
If you like this stitch you may also want to check out the City Streets Shawl or our tutorial for the DLK stitch used in the shawl (very similar to the Bubble Stitch). The City Streets Shawl uses mini skeins and spaces the bubbles out further (there are more plain rnds in the MC between bubbles). Or you can sub your leftovers or combine a second skein of yarn.
Give the Bubble Stitch a try – it’s not hard and it has great results.
Leave a Reply