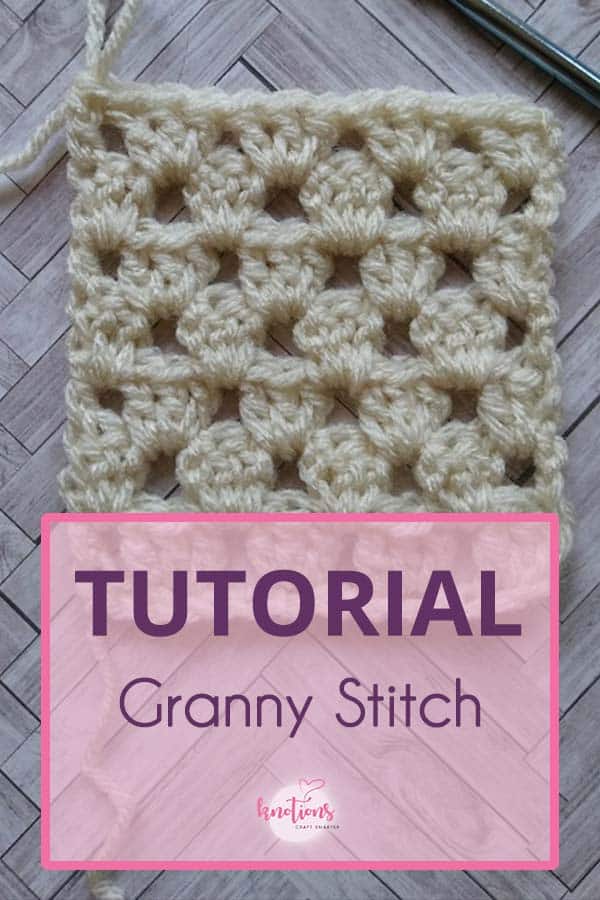
I have a soft spot for the Granny Stitch pattern. It is such a classic, versatile stitch pattern that gives off the classic Granny Square vibe, but I feel like with a more modern twist, especially when alternating colors!
The Granny Stitch pattern can be worked flat (back and forth in rows), or in the round (not explained in this tutorial). The difference between the Granny Stitch pattern, and a Granny Square is the direction worked. The Granny Stitch pattern is still worked in clusters, but in a straight line, instead of a motif worked only in the round.
Before we get into the tutorial, I want to point one thing out. Sometimes, the Granny Stitch pattern is worked with a chain 1 in between clusters, and then the clusters themselves are worked into the chain space. This is especially helpful if you find that your fabric starts narrowing as you work. In this sample, we are not working in this manner.
How to Crochet the Granny Stitch
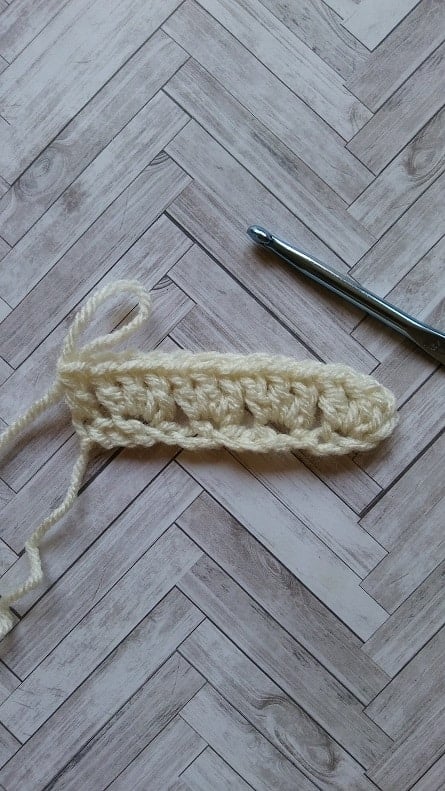
Step 1: Crochet a ch that is a multiple of 3, plus 1. For the sample, I’ve crocheted 16 chs (5*3 + 1).

Step 2: Work 2 dc into the 4th ch from the hook (the sk ch counts as a dc), sk 2 chs, *work 3 dc into the next chain, sk 2 chs, rep from * across until you have 1 ch left, work 1 dc into the last ch.
Steps 3&4: Ch 2 (counts as a dc here, and throughout), and turn. 2 dc into the sp in between the previous rows single dc and first cluster, *sk the next 3 dc (cluster), work 3 dc into the next sp in between clusters, rep from * across until the last sp is worked into, dc into the top ch of the turning ch.


Continue repeating the last row for as many rows as you like.
Love granny squares?
Year of Color 2026 is a free pattern series featuring paired knit and crochet squares, each in a seasonal color palette. All patterns are free, all year long.
About the Instructor: Alexandra Richards
Alexandra is described as a “craft, coffee and cat addict”.
Though she has always been a crafty person, she picked up needlepoint on plastic canvas in 2006. In 2015, she learned to crochet, and began her blogging journey as EyeLoveKnots, named in honor of family members affected by Retinoblastoma – a cancer of the eye.
Leave a Reply