 There are two ways to add another yarn. You could do it in the same direction, or in the opposite direction.
This tutorial will show you how to add yarn in the opposite direction.
Step 1: Pick up stitches from LEFT to RIGHT. Pick up every garter ridge. You may have heard that you need a different ratio – say every 2 out of 3, but not with garter stitch. The gauge is almost square, so it’s easy! Just pick up every one.
I don’t care if they’re incorrectly oriented at this point because I’ll fix that in Step 2. As you can see, the stitch all the way to the left is oriented the other way. This is an easy fix though, so my focus is on making sure that I grab the right number of stitches.

Step 2: Using the new yarn, knit those stitches.
Don’t forget to fix the orientation (if needed).
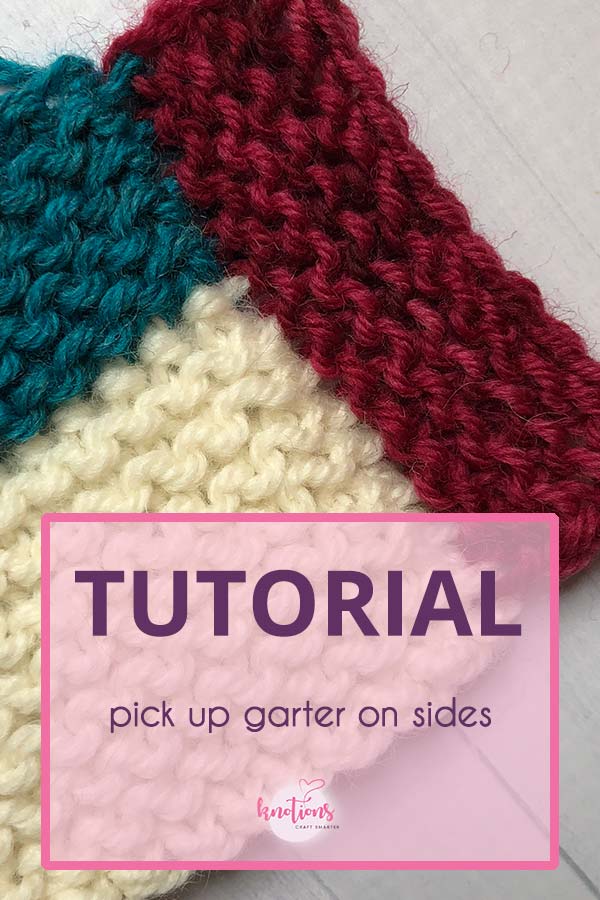
Now that you’ve picked up those stitches, you’re done! Here’s mine after a few rows.

And here it is on the WS.

A couple things to consider
- Make sure that the colors you plan to use together won’t run when they’re laundered. I’ve heard some success with Color Catchers but I wouldn’t rely on them.
- Choose where to weave in your ends so that colors with a lot of contrast don’t show areas where a dark color is woven in. That means, in our example above, I would make sure that the white and both the teal and red weren’t woven into each other. But, I’d be fine with the red and teal. Of course, different styles of weaving in ends can product other effects. The least risky way is to only weave into to same color.
Leave a Reply