Purl through Back Loop (ptbl) is an easy stitch to add to your knitting. Many patterns use it – lace, ribbing, socks and many others. Read on to learn how to do this simple stitch.

Step 1
We’re going to assume you have a column of purl stitches that you’ve already worked (either regular of ptbl will work).
The stitch on your LN is a purl.
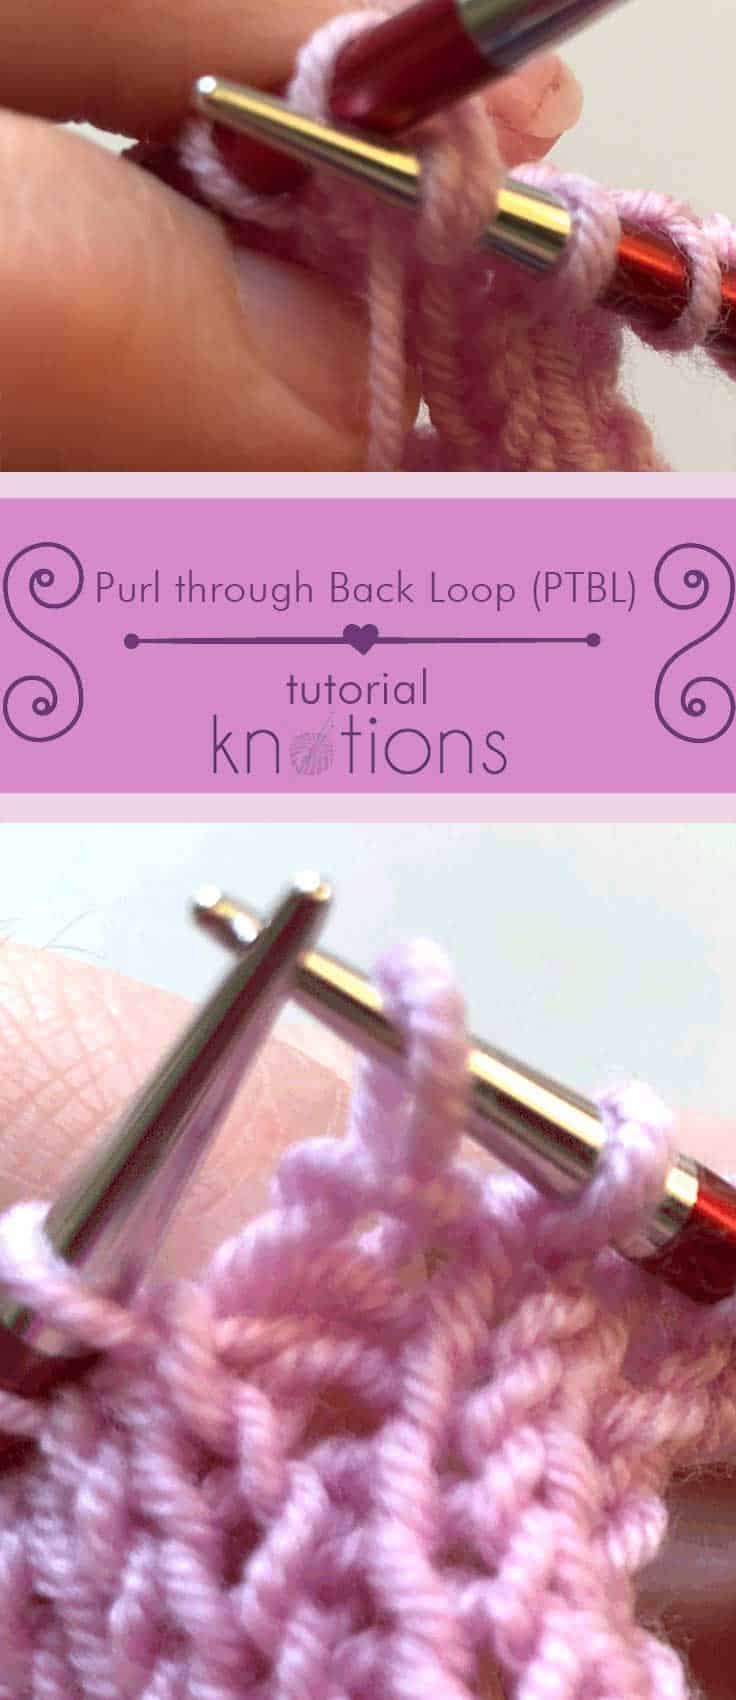
Take your RN and insert it differently than you would for a regular purl stitch (we show you how).
Put your working yarn to the front and your RN to the back.

Step 2
And then enter the stitch on the LN from the left to the right, like this.

Step 3
Now that the stitch is twisted, purl it. Just wrap the working yarn around the RN and pull it through.


You’re done!
After a few rows
Here’s how the column of ptbl stitches look after they’ve been worked for a few rows. See how much tighter it looks versus a standard purl?

Uses
You may see the ptbl in lace patterns. Here’s how it’s often depicted in a chart:
![]()
Remember to check the key though, because the key takes precedence.
It can also be used when working ribbing in the round to make it a bit tighter. I often do it when working a sock. If it’s just one column you can do it every round. If it’s a lot more than 1 or 2 columns, I suggest doing it every other round to help avoid the natural bias that twisted stitches cause.
You can use it almost everywhere that a standard purl is used if you want to tighten things a bit. The nice thing is that the stitch remains mounted in the proper way so you can work the next row however you want – either with another ptbl or just a regular purl.
About the Instructor: Jody Richards
 Jody loves pouring over stitch dictionaries and trying out new stitches. And while she likes all things crafting (well ok, except that one thing), yarn crafts are her true love (and she has the stash to prove it).
She’s a serial starter-of-projects and has a serious problem with finishing things without a deadline.
And don’t get her talking about hand-dyed yarns. You’ve been warned.
Leave a Reply