An I cord edge makes a nice, tidy edge for shawls. The Aglea shawl uses this edge and calls it SSE (slipped stitch edge).
It’s pretty simple to work, and I’ll show you how.
This edge is worked over 3 sts and 2 rows.
How to Add an SSE to a Project that Doesn’t Have It
If you want an I cord edge on a shawl that doesn’t have it, just replace the edge – usually garter stitch or seed stitch – with these 3 stitches.
Let’s say you have a shawl that has a 5-stitch garter edge. You would subtract 5 for each edge from the CO and then add 3 for each edge to it.
So, 2*(-5) + 2*3 = -10 + 6 = -4. You’ll CO 4 less sts.
Another way to think about it is that you’re replacing each 5-stitch garter edge with a 3-stitch SSE.
How to knit the I Cord Edge
RS row: Work your shawl per pattern, then, k1, sl1 wyif, k1 (here are those 3 sts I talked about).
WS row: Sl1 wyif, k1, sl1 wyif (the 3 sts again), work to end per pattern.

Then, knit the next stitch. Move the yarn to the front and slip the next stitch purlwise AGAIN.
Basically, you’re knitting each st once over every 2 rows. On the opposite row, they’re slipped purlwise with yarn in front.
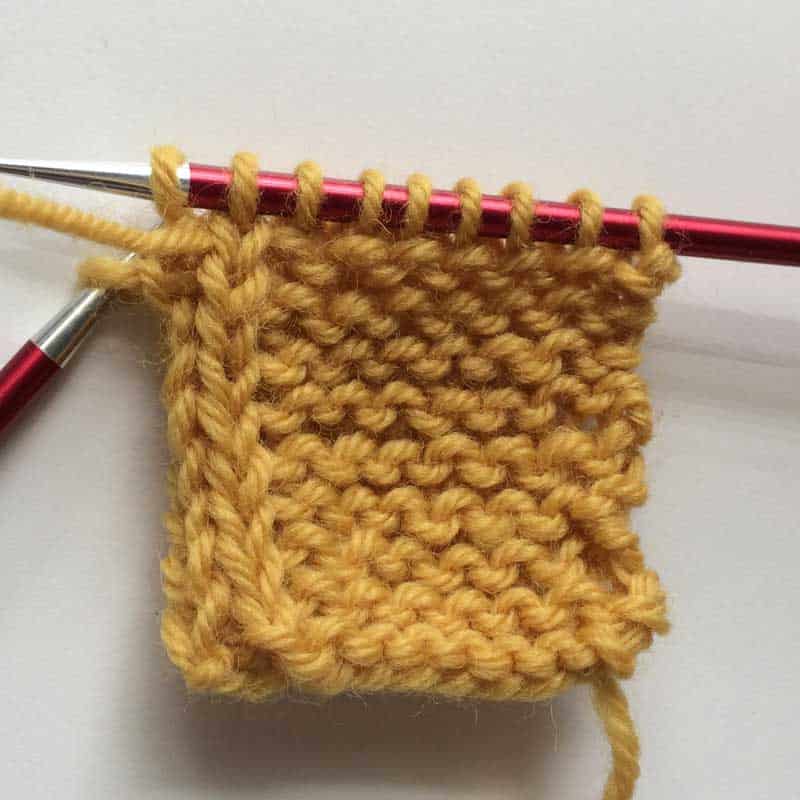
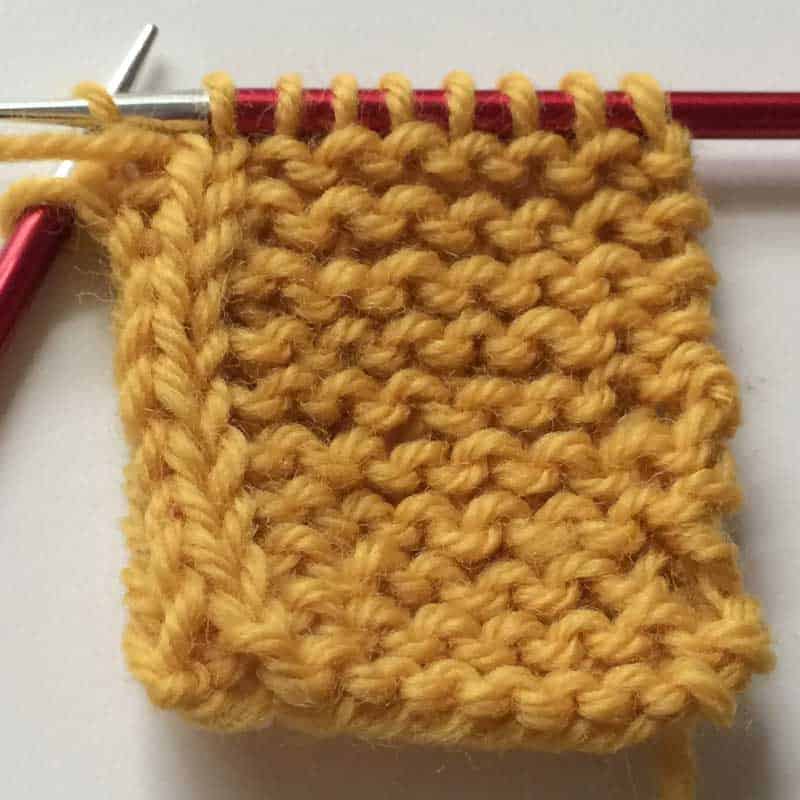
How it looks
Here’s what it looks like after a bunch of rows are worked.
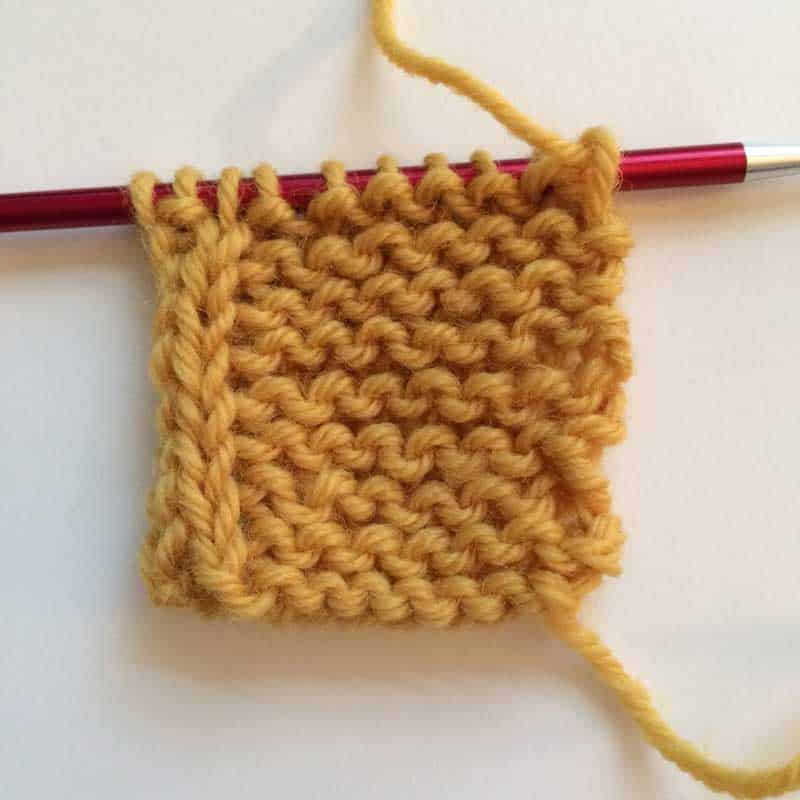
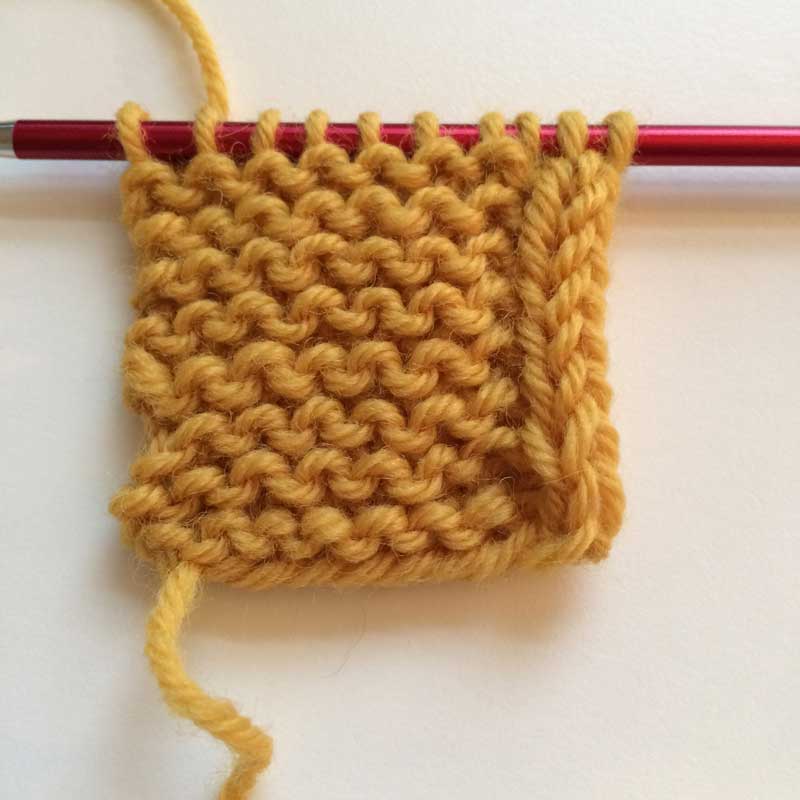
And here’s the edge.

See? Tidy and easy. Give it a try on your next shawl. Just remember it uses 3 sts. If your shawl has a garter st border, this edge would replace it. So, remove the garter sts and add 3 sts for the I cord edge (see the note above for a bit more detail).
About the Instructor: Jody Richards

Jody is the founder and lead editor of Knotions. She loves poring over stitch dictionaries and trying out new stitches.
She’s also on a mission to get everyone to embrace the blocking. And, to avoid using garter stitch edges in knit swatches made for gauge.
And while she likes all things crafting (well ok, except that one thing), yarn crafts are her true love (and she has the stash to prove it).
Thanks for this tutorial.
I’d seen this technique described in patterns before, but didn’t know it had a name. It’s sparked a few design ideas, so I’m hoping something will come of it!
Awesome!
It’s more often called an Icord edge if you’re looking for other patterns.
Wonderful tutorial. I can’t wait to use it on one of my queued projects!
It’s such an easy way to add a little polish!