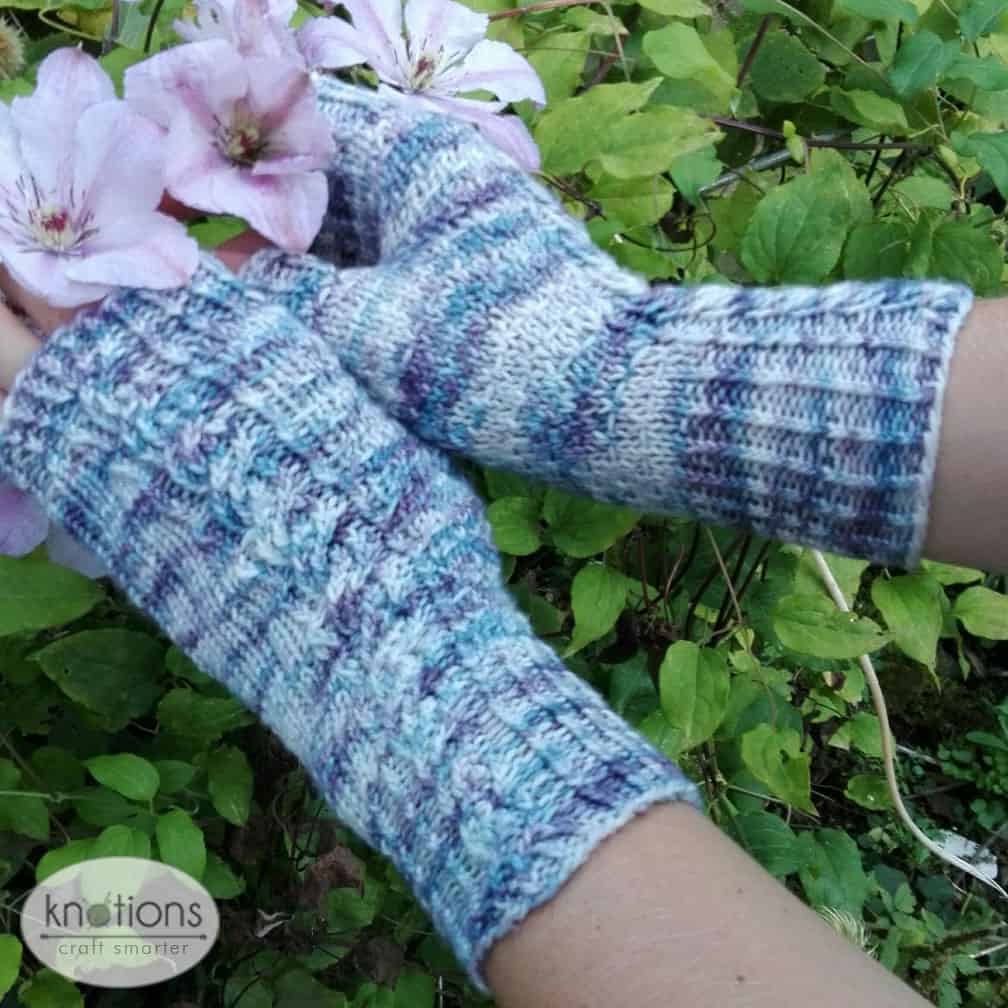
 ‘Bonte’ is the Dutch word for something colourful or varied, and that’s exactly what these mitts are meant to be!! The linen stitch helps to keep the yarn from pooling, and the twisted rib cable is there just for fun.
So have fun with those lovely variegated yarns in your stash and knit up these quick and easy fingerless mitts.
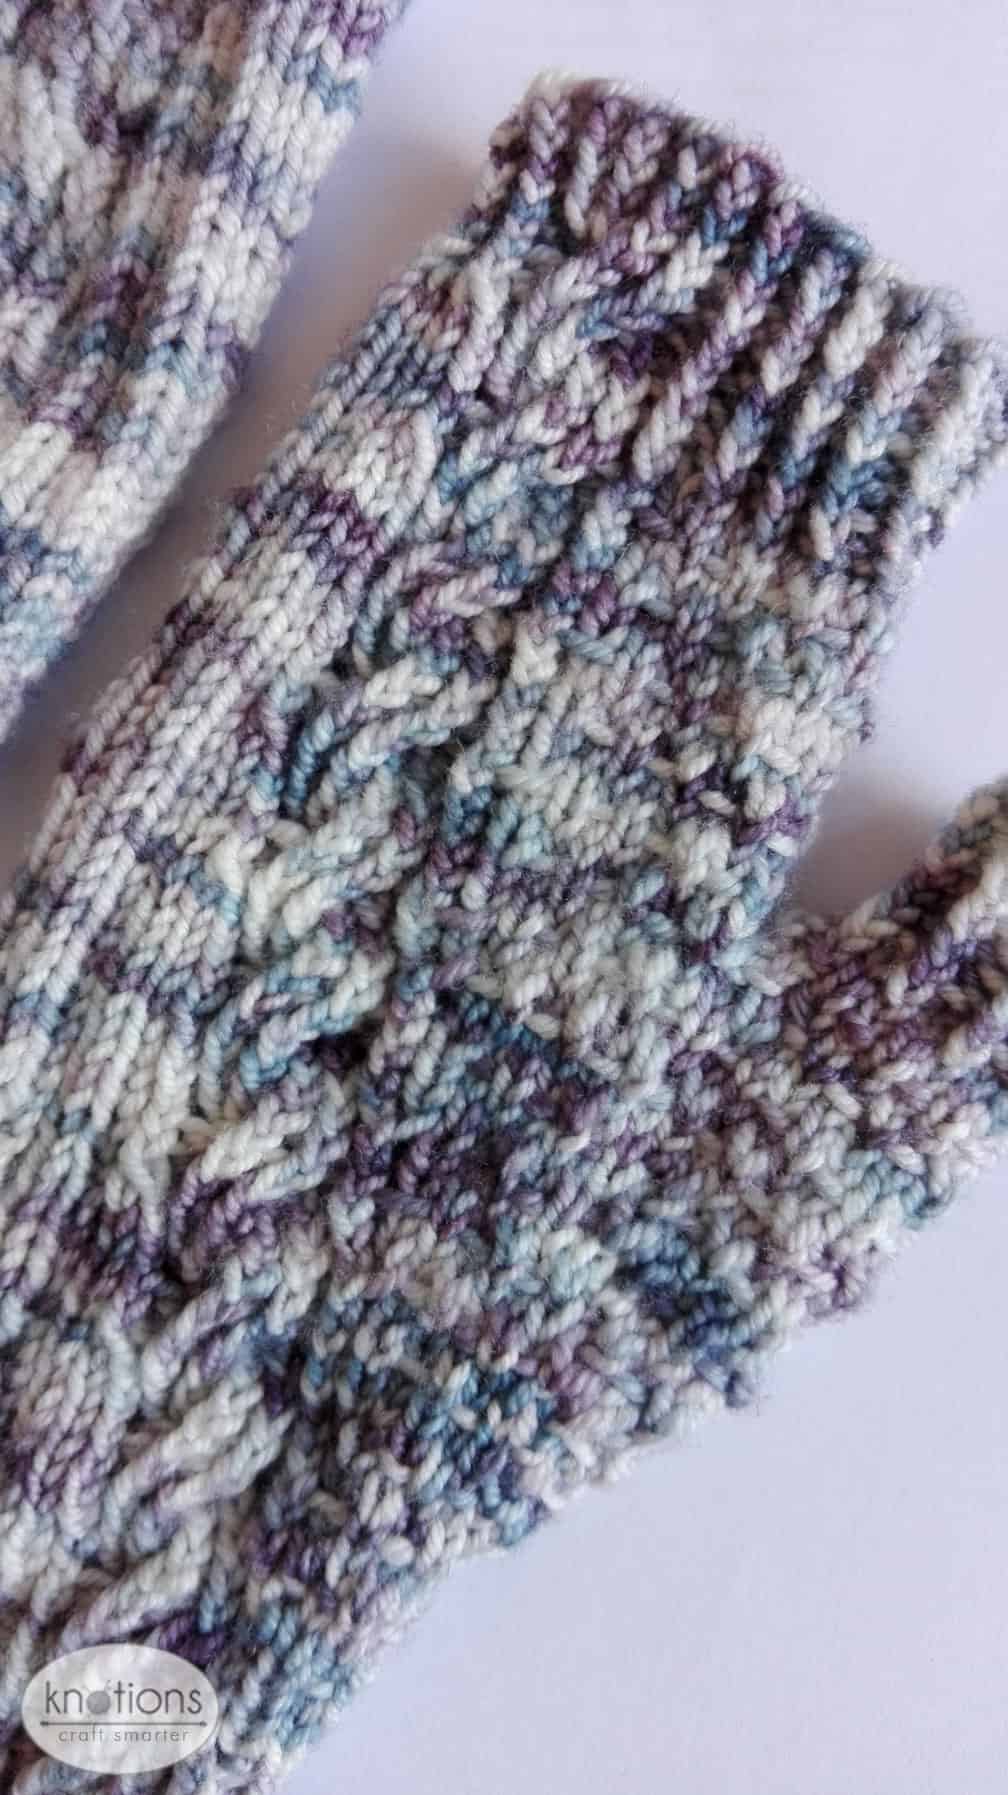
They consist of twisted rib, an easy twisted rib cable over 8 stitches, regular rib and linen stitch. The pattern is designed so that there are two complete rows of ‘knit or purl’ the stitches as they come, in between the rows where the cable is done. The thumb gusset is almost invisible because of the simple linen stitch!
Size
Lots of stretch in this mitt – it fits my daughter (11 years) and me (medium size hand).
The finished mitt, unblocked is:
Gauge: 27 sts x 38 rows = 4″ (10×10 cm)
Average Length regular size: 7 3/8″ (18cm)
Extra long length: 9″ (22.5 cm)

Yarn
Dutch Wool Diva Sport Star (100% Merino; 328 yards [300 meters]/100 grams):
I used 40 grams of ‘Untold Story’: 0.4 skein=131.2 yards [120 meters]
Needles
Size US 4 (3.5 mm) & US 6 (4 mm): 24” circular or longer


Charts
Bonte Mitts – Left Chart

Bonte Mitts – Right Chart

Notions
4 markers/mitt; cable needle(optional); tapestry needle;
Gauge
24 sts and 34 rows = 4” [10 cm] in St st after wet blocking.
Abbreviations
C4\4L – Place first 4 stitches on cable needle, holding in front, [p1, ktbl1]2x, then the stitches on the cable needle [p1, ktbl1]2x
C4/4R – Place first 4 stitches on cable needle, holding in back, [ktbl1, p1]2x, then the stitches on the cable needle [ktbl1, p1]2x
sl st wyf – Slip one stitch with yarn in front
ssktfl – Slip 2 stitches knitwise, one at a time, and replace them on the left needle so that their back loops are in front, then knit them together (like a k2tog), creating a twisted decrease
Pattern Notes
This pattern is worked in the round from the bottom up. After working the cuff, follow the appropriate chart above.
Mitts
Right Cuff: The cuff is knit up in the round using the smaller (3.5 mm/US 4) sock needles.
Using a stretchy method (longtail), cast on 40 sts, join in the round and place marker.
- Rnds 1-5: *ktbl1, p1* around
- Rnd 6: [ktbl1, p1]4x, ktbl1, C4\4L, p1, [ktbl1, p1] to end
Repeat rounds 1-6 four or five more times, depending on how long you want the cuff to be. Knit 2 more rounds of twisted rib after the last cable, then continue by following the right chart.
Left cuff: Cast on the same as the right cuff.
- Rnds 1-5: *p1, ktbl1* around
- Rnd 6: [p1, ktbl1]11x, p1, C4/4R, [p1, ktbl1] to end
Repeat rounds 1-6 four or five more times, depending on how long you want the cuff to be. Knit 2 more rounds of twisted rib after the last cable, then continue by following the left chart.
Thumb
- Move the 15 thumb stitches from the rest yarn back onto the smaller (3.5 mm) needle(s). Pick up and knit 2 stitches, pm, pick up and knit 3 sts around the top of the hole; 20 sts.
- Rnd 1: *K1, sl st wyif* to three sts before m, k2tog, k1; 19 sts.
- Rnd 2: Sm, k2, k2tog, k to m; 18 sts.
- Rnd 3: Sm, k2tog, k1 to 2 sts before m, k2tog; 16 sts.
- Rnd 4: *K1, sl st wyif* around
- Rnd 5: Knit one round
- Rnd 6: *Ktbl1, p1* around for 4-8 rnds.
Finishing
Bind off. Work away all loose threads.
Wear & ENJOY!!
 About the Designer – Joyce Riemens
 About the Designer – Joyce Riemens
Joyce Riemens is a Dutch Canadian living in Holland with her Dutch husband and 3 daughters.
She grew up on the west coast of Canada, and moved to the Netherlands more than 14 years ago. When she’s not playing with wool, she’s either busy as a mom, cleaning, helping students with their English homework, and currently studying for an official TEFL diploma. She is an active member of Ravelry where she is known as “Dutchmama” and you can visit her design page here on Ravelry.


I cannot enlarge the chart for left hand.
Whoops – it’s fixed now. Thanks for letting us know. Sorry about that.