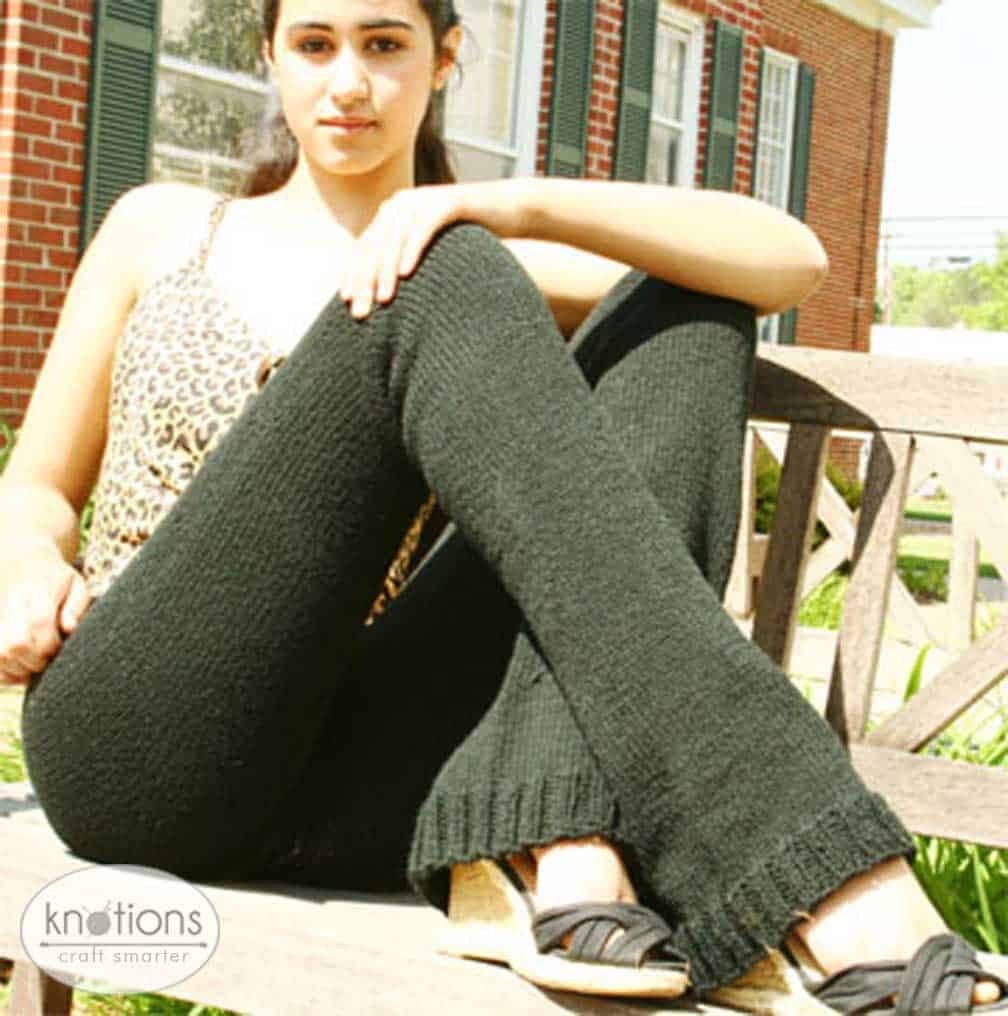
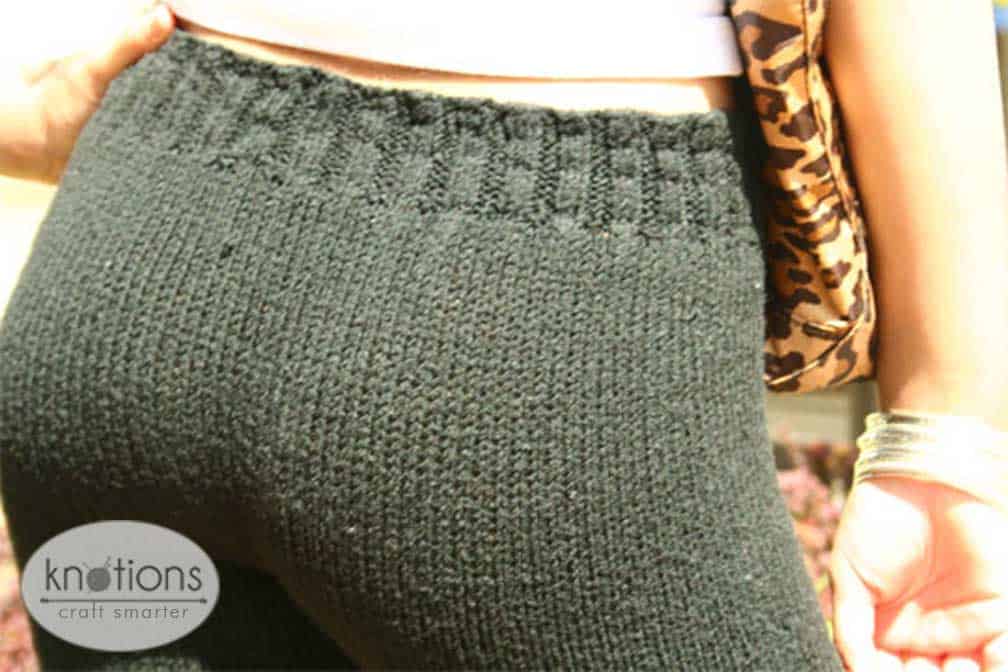
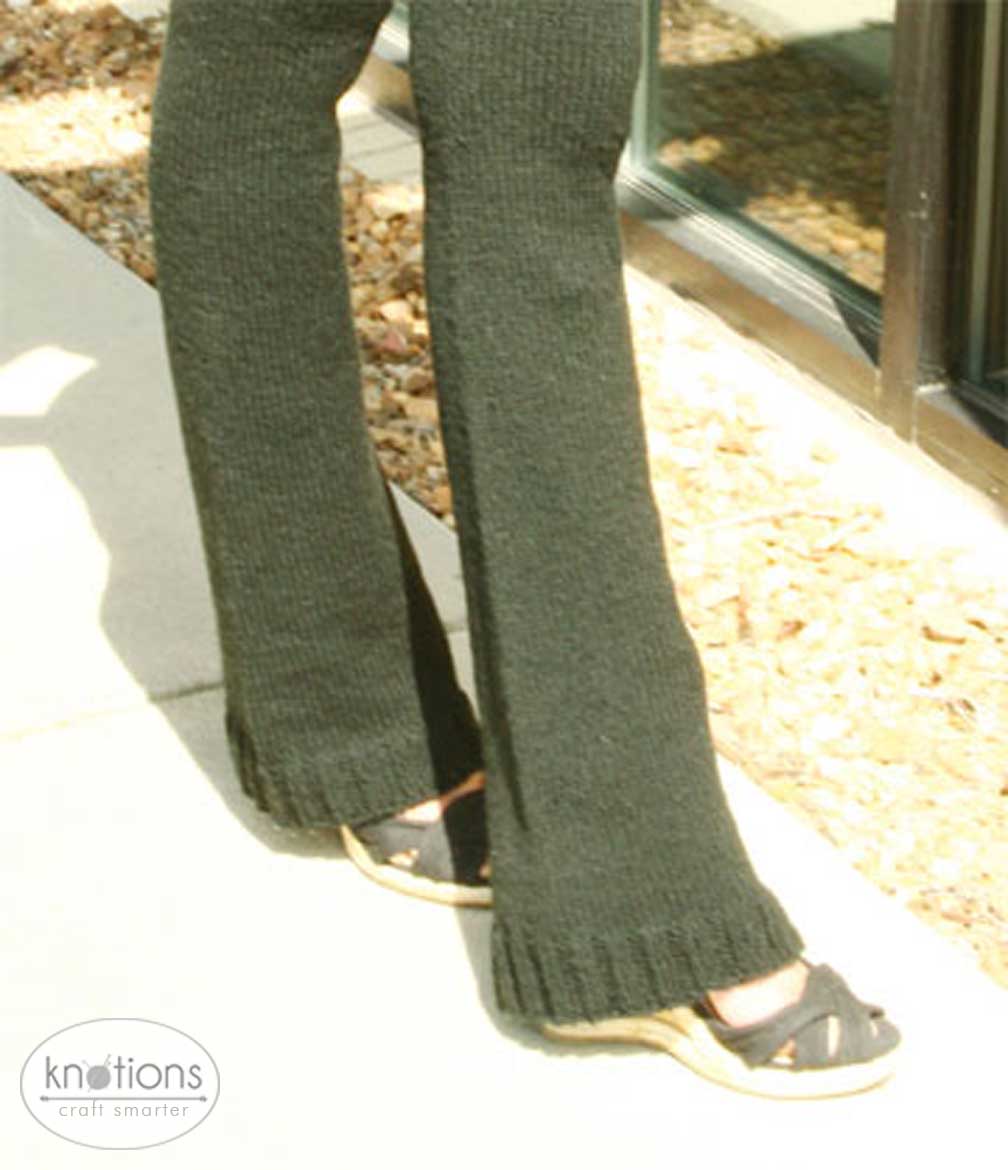
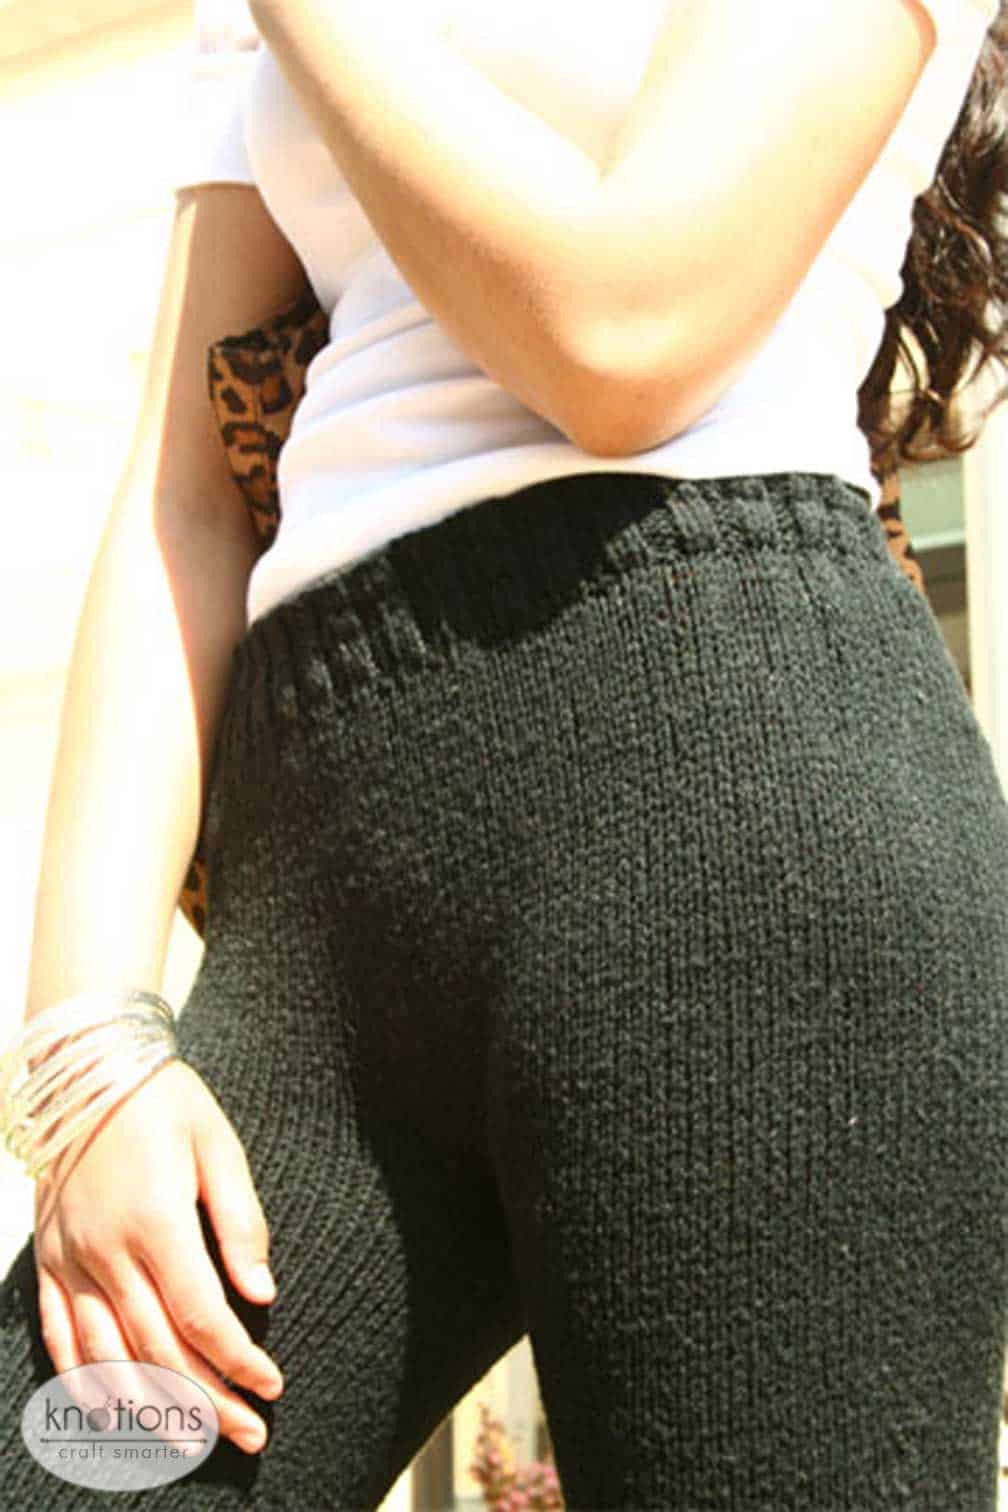
 These pants are crazy easy to knit. They are amazingly comfortable and fashionable at the same time with a slight bootcut leg and a low riding waistband. Usually you have to sacrifice comfort for beauty, but that is not the case with these. Both Solitaire and Bamboozle are lovely, soft, flexible yarns that don’t feel clammy and that move with your body, giving you the feeling of freedom and comfort that are essential for a long day of work or play.
Simple construction and an easy-to-follow pattern make sure that you will have these pants off your needles in no time. I have been designing pants since 2005 and I have to say that these are probably my best pair yet. The pattern is full of try-on-as-you-go customization options that ensure a fabulous fit for knitters of all shapes and sizes.
I am happy to give these to you. I hope you enjoy them.
Cheers,
Phoenix

Sizes
Finished Hip Size 31 (33, 35, 37, 41)”/78.75 [83.75, 89, 94, 104]cm to fit hips 30.5 (32.5, 34, 36, 40)”/77.5 [82.5, 86.5, 91.5, 101.5]cm
0.5-1” positive ease recommended.
Finished Inseam Length 31 (32, 32, 33, 34)”/78.75 [ 81.25, 81.25, 83.75, 86.5]cm
Shown is size 33” hip.
Yarn
Featured Yarn: GGH Solitaire (44% Wool, 43% Acrylic, 13% Elité; 142yds[130m]/50g): #14 Black, 8 (9, 10, 11, 12) balls.
Suggested Substitution Yarn: Crystal Palace Yarns Bamboozle (55% Bamboo, 24% Cotton, 21% Elastic Nylon; 90yds[82m]/50g): #9598 Jet Black, 12 (13, 15, 16, 18) balls.
Needles
US #6 (4 mm): 16″ [40cm] circular needle
US #7 (4.5 mm): 16″ [40cm] circular needle
US #10 (6 mm): 16″ [40cm] circular needle
Gauge
17 sts and 26 rounds = 4″ [10 cm] in St st on US 7 when worked in the rnd.
Notions
Stitch markers; 2 small cable stitch holders; tapestry needle; 3mm elastic thread; waste yarn.
Abbreviations
Please see our standard list of abbreviations.
Special Stitches
Backward Loop Cast-On
Make a slip knot and place it on the needle. Hold the needle in your right hand and the working yarn in your left hand. * Wrap working yarn around left thumb from back to front. Insert needle up under the loop wrapped around your thumb. Slide your thumb out of the loop and pull the working yarn gently to tighten the stitch on the needle. Repeat from * until you have the desired number of stitches on the needle.
2×2 Rib (multiple of 4 sts)
All rnds: * K2, p2; repeat from * around.
St st (Stockinette Stitch)
When knitting back and forth, knit 1 row, purl 1 row. When knitting in the round, knit every round.
Three-Needle Bind Off
With the right sides of the two pieces facing and the needles parallel, insert a third needle into the first stitch on each needle and knit them together. Knit the next two stitches the same way. Slip the first stitch on the third needle over the second stitch and off the needle. Repeat until all stitches are bound off. Cut yarn and pull it through the last stitch.
Wrap and Turn
Bring yarn to front of work between needles, slip next stitch to right needle, bring yarn around this stitch to back of work, slip stitch back to left needle, turn work to begin working back in the other direction. When working on the purl side, bring yarn to back of work between needles, slip next stitch to right needle, bring yarn around this stitch to front of work, slip stitch back to left needle, turn work to begin working back in the other direction
Ed Note – See our tutorial on How to Knit Short Rows for detailed instructions.
Pattern Notes
Each leg is worked in the round from the ribbed hem to the thigh, then stitches are held for joining later. Both leg stitches (minus the crotch stitches) are joined and worked in the round to the waist.
Joining New Yarn
For inconspicuous joins, try to join in each new ball of yarn at the inside of the leg.
Increase Technique
Knit to marker, (m1R, slip marker, k1, m1L), The 2 increases are worked on either side of a center stitch to ensure that each inc rnd is aligned with the previous inc rnd.
Long Sizing
Instructions are included for lengthening pants for long sizing. Yarn requirements include enough yardage for long sizing.
Customizing Your Fit
Each short row is actually two wrap and turn rows sandwiched between two full rounds described in Steps 1 and 2. Each time you work Steps 1 and 2 you are adding 0.25”/0.75cm in height to the back of the pants. By repeating Steps 1 and 2, you can add as much height to the back as you like. Try the pants on by slipping all the sts onto waste yarn. Once you have determined how many inches you need to add, go for it! Don’t forget you can eliminate the short rows too.
Adding Waist Height
Try pants on by slipping all the sts onto waste yarn. Once you have determined how many inches you need to add, return sts to needle and continue to desired height.
Leg
Make 2
With US #10 circular needle, CO 80 (84, 92, 96, 108) sts loosely using the Backward Loop Cast on. Join for working in the rnd, being careful not to twist sts. Place marker at beginning of rnd, and slip marker every rnd. Work in 2×2 rib for 2″ [5 cm]. Switch to US #7 circular needle and work in St st for 1.5″ [3.75cm]. See note below for adding length for long sizing.
Long Sizing
Work 3.5 (3, 3, 3, 2.5)” [9 (7.5, 7.5, 7.5, 6.25) cm] St st instead of the 1.5″ above, and work to an inseam length of 34 (34, 34, 35, 35)” [86.5 (86.5, 86.5, 89, 89) cm]. Yarn requirements already include extra yardage needed for Long size.
Begin Decreases
Dec 4 sts evenly using k2tog this rnd and then every 19 (20, 20, 21, 21) rnds until 60 (64, 72, 76, 88) sts remain. Work even in St st for 6″ [15.25 cm].
Knit 30 (32, 36, 38, 44) sts, place 2nd marker to mark center of rnd, knit to end of rnd.
Inc 2 sts at each marker next rnd and every 20 (20, 24, 24, 24) rnds using inc technique (m1R, slip marker, k1, m1L) until there are 72 (76, 84, 88, 100) total sts.
After working all incs, measure leg and continue in St st until piece measures 31 (32, 32, 33, 34)” [78.75 (81.25, 81.25, 83.75, 86.5) cm].
On last rnd, starting 3 (3, 2, 3, 4) sts before 1st marker, work (m1, k1) 7 (7, 6, 8, 8) times to inc for crotch – 79 (83, 90, 96, 108) sts total.
Slip leg sts to holder or waste yarn and make other leg.
Crotch
To create crotch sts for each leg, with inseam centered, slip 13 (13, 16, 17, 21) sts of each leg onto cable stitch holder or waste yarn. These sts will be grafted later using Three-Needle Bind Off. Hold legs together with the crotch sts facing each other. Pick up all rem sts from both legs and join for working in the rnd; 132 (140, 148, 158, 174) sts. Work in St st for 2.25 (3.25, 4.25, 5.25, 6.25)” [7.5 (10.25, 12.75, 15.25, 17.75) cm].
Divide sts in half and place stitch markers at sides of hips so that half of total sts are in front and half are in back. Use different colored yarn or stitch markers to designate the first marker as #1 and the second marker as #2.
Short Row Shaping
Short rows are worked flat across back sts only in St st between markers #1 and #2. Front sts wait on needle while short rows are worked.
Step 1: Knit to 1 st before marker #2. Wrap next st, turn work around and purl back to 1 st before marker #1. Wrap and turn.
Step 2: Work two full rnds (all hip sts) in St st, picking up the wraps and ending at marker #1.
Repeat steps 1 and 2, each time working to 2 sts before previous wrapped st, until 4 sts have been wrapped at each side (See Pattern Notes for Customization Instructions to add inches across seat).
Work even in St st for 1.25″ [3 cm] (See Pattern Notes for Adding Waist Height Instructions). On last rnd, dec 0 (0, 0, 2, 2) sts evenly using k2tog; 132 (140, 148, 156, 172) sts.
Change to US #6 circular needle and work in 2×2 rib for 2″ [5 cm]. BO very loosely in Rib st.
Finishing
With tapestry needle, thread 4 rows of elastic thread along ws of ribbed waistband, being careful to not allow elastic to show on rs. Pull elastic snug to fit and secure in place.
With WS facing, transfer sts from first stitch holder to needle, picking up 2 sts, one on either end of sts held at crotch. Repeat for second holder and join crotch sts with pattern yarn using Three-Needle Bind Off. Be careful to not leave any lumps or gaps. Weave in all loose ends. Block according to directions on ball band.
Yarn for model garment provided by Muench Yarns www.muenchyarns.com Garment knitted by Elizabeth Sullivan. Pattern written by Elizabeth Sullivan. Pattern edited by Margaret Sullivan, Beth Bess, and Elizabeth Sullivan. Photographs by Beth Bess.
Schematic

About the Designer: Phoenix Bess
 Phoenix is a teenage knitwear designer living in Virginia. Her patterns are available in magazines, yarn stores, catalogues, and online. Phoenix’s new book, It Girl Knits, will be available October 14th. To see more of her work, visit phoenixbess.com.
Pattern and images © 2008 Phoenix Bess.


so cute!!!!