
Knitting technique tutorial
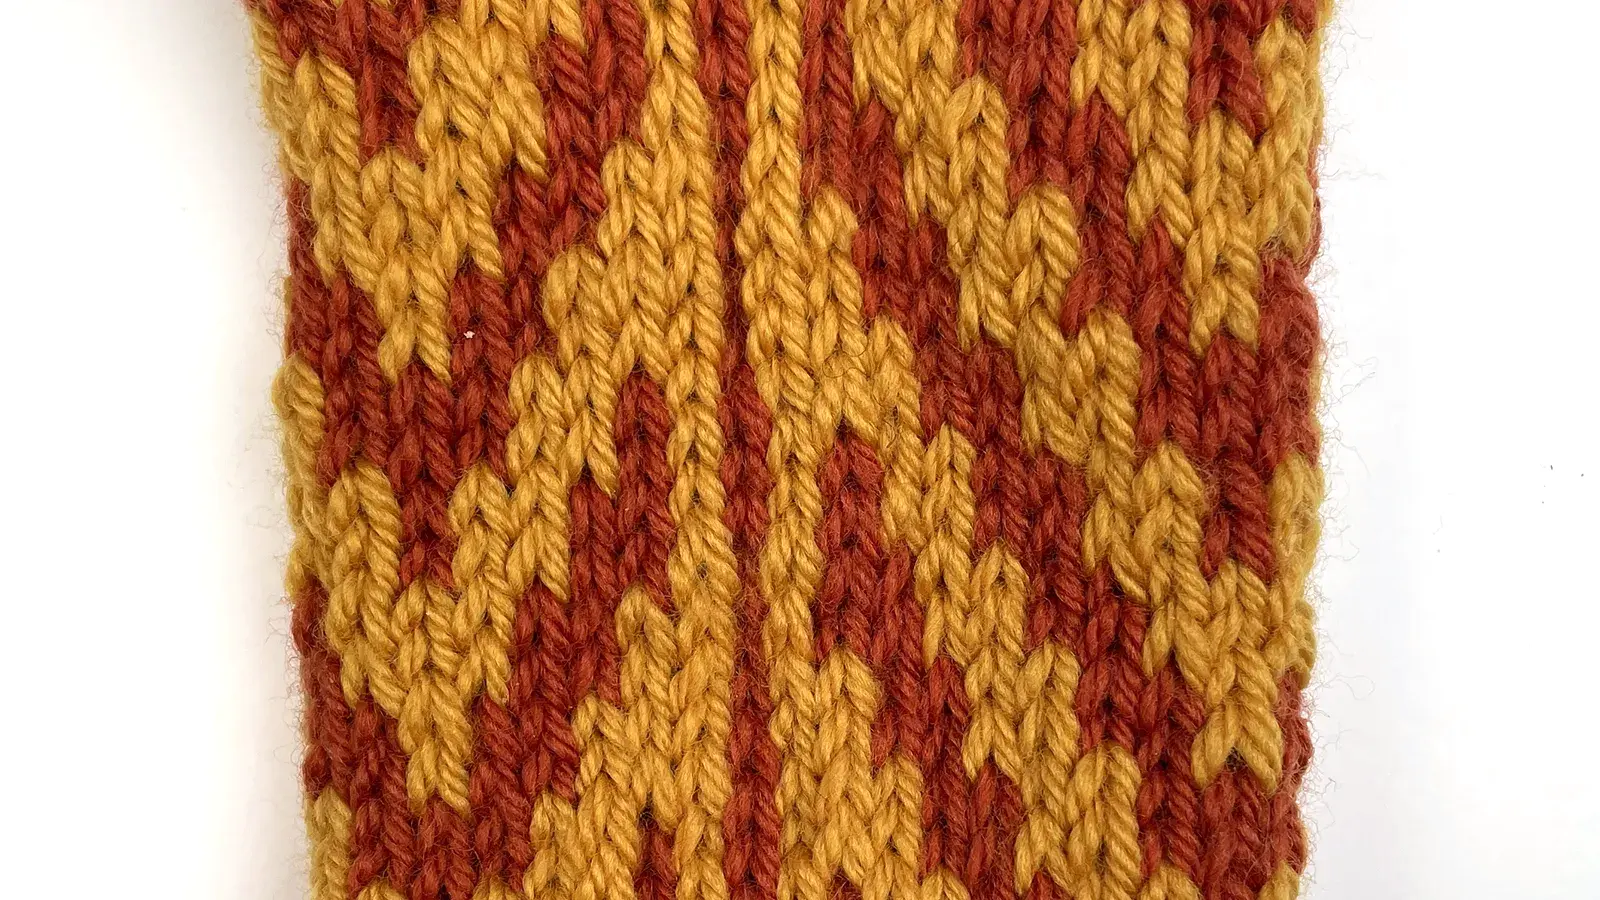
Cutting your knitting sounds like a terrible idea. It isn’t.
Steeking lets you knit a cardigan, a vest, or an armhole in the round, then cut it open afterward. You get to work stranded colorwork with the right side facing the whole time, and you never purl a two-color row.
The trick is reinforcing the stitches before you cut, so they have nowhere to go. In this tutorial, we reinforce with a sewing machine, which is the right choice for superwash yarn. More on why below.
What is a steek?
A steek is a narrow column of extra stitches worked into a tube of knitting, exactly where you plan to cut.
Those stitches are not part of the finished garment. They exist to be sewn, cut, and folded out of sight.
Most steeks are an odd number of stitches, so there is a clear center stitch to cut through. Ours is 3 stitches.
Why a checkerboard steek?
Our swatch uses a 3-stitch checkerboard: the two colors alternate every stitch and every round.
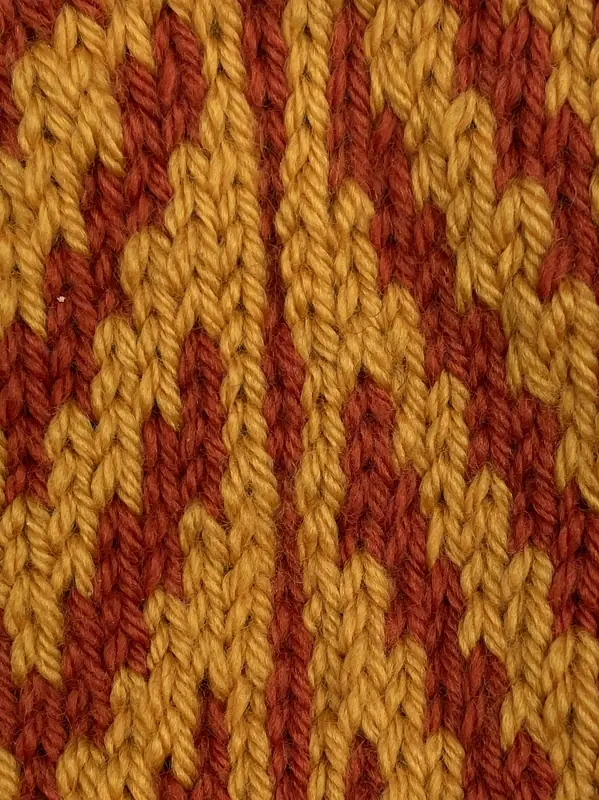
That pattern does three useful things:
- Each column is easy to see, so your sewing lines and cut line are hard to miss.
- Both colors are caught in every round, so there are no long floats inside the steek.
- The fabric is denser than plain stockinette, which gives the reinforcement more to hold on to.
What you need
- Knitting A swatch or project knit in the round with a steek column
- Sewing machine With a short straight stitch and a regular needle. A walking foot helps but is not required.
- Thread All-purpose, in a color that matches the steek so the stitching blends in. We used a dark thread so you can see the sewing lines in the photos.
- Markers Locking stitch markers or pins to mark the cut line
- Scissors Small and sharp
Practice on a swatch first. A steeking swatch tells you how your yarn and your machine behave together before your sweater is on the line.
Why superwash yarn needs to be sewn
Untreated wool fibers are covered in tiny scales. When you cut through wool, those scales grab each other, and the cut ends stay put.
That is why traditional Shetland steeks can be cut with no reinforcement at all, or held with a simple crochet chain.
Superwash wool has had those scales smoothed down or coated so it can go in the washing machine without felting. The same treatment that keeps it from felting also keeps it from gripping.
Cut superwash and the stitches slide apart easily. A crochet reinforcement can work, but it relies on friction the yarn no longer has.
Machine stitching is different. The thread pierces the yarn and locks every stitch in place mechanically, so slippery fiber doesn’t matter.
The rule of thumb: if the label says superwash, sew it.
How to steek, step by step
Step 1: Find the center stitch
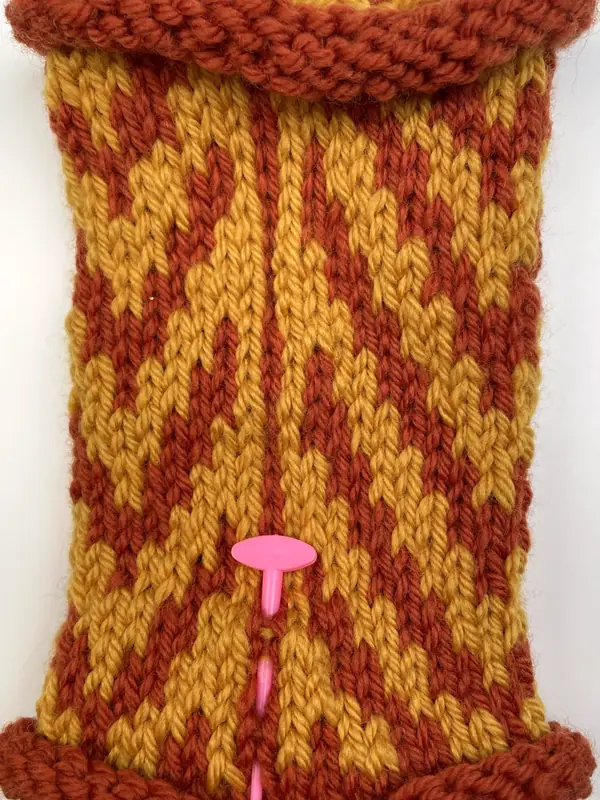
Lay the swatch flat with the steek facing up. Count the 3 steek stitches and find the center one. That is your cut line.
Mark it with pins or locking markers running up the column. Follow the column itself, not the edge of the checks, since knitting can lean slightly.
Step 2: Set up your machine
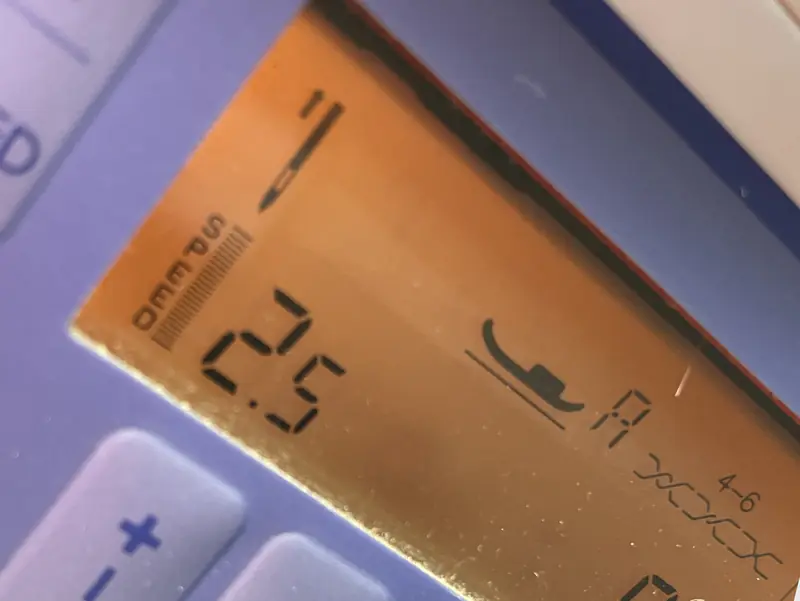
Set a short straight stitch. We used a stitch length of 2.5.
Short stitches pierce more strands of yarn per round, which makes a stronger seam.
A regular sewing machine needle works well. You don’t need a special needle.
If the knitting catches or stretches as it feeds, loosen the presser foot pressure, if your machine allows it.
Step 3: Sew the first reinforcement line
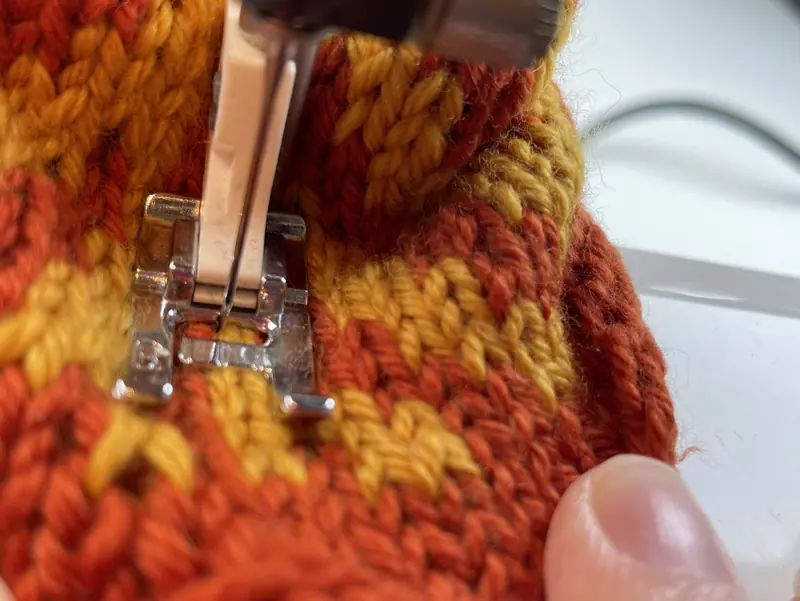
Start the first line beyond the top edge of the knitting and sew straight down the center of the stitch to one side of the cut line.
Go slowly and let the machine feed the fabric. Don’t pull or push it, or the knitting will stretch and the line will wander.
Sew all the way through the edges, past the last round, so every round of the steek is caught.
Step 4: Sew the other side, then a second pass
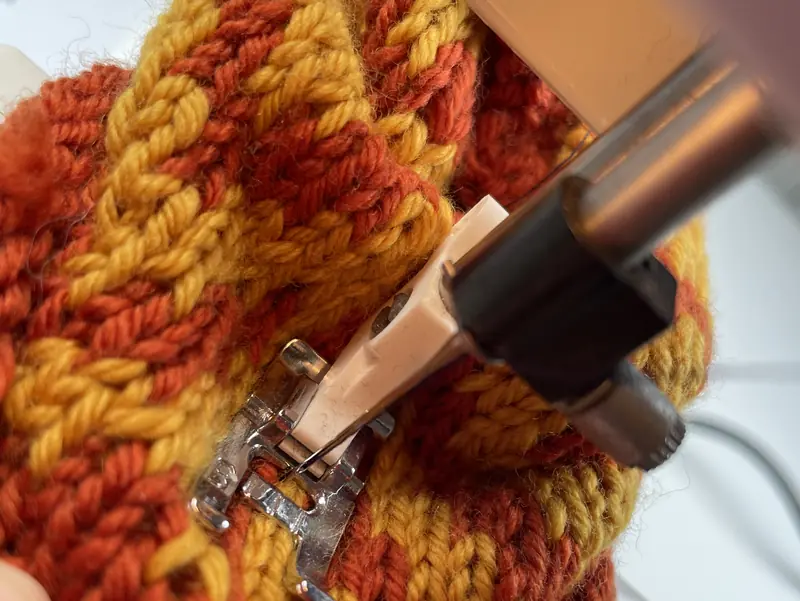
Turn the swatch and sew down the center of the stitch on the other side of the cut line, the same way.
Then sew a second pass on each side, right beside the first line and inside the same stitch.
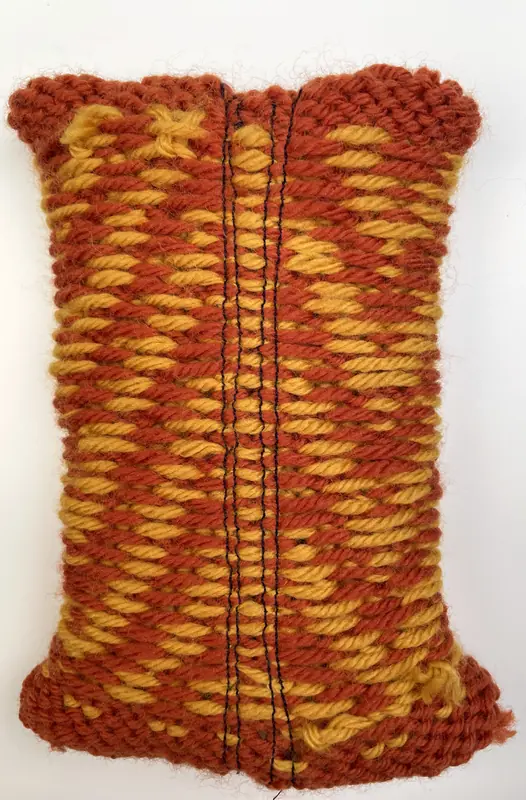
That makes 4 lines in all, 2 per side. The second pass catches any round the first line missed.
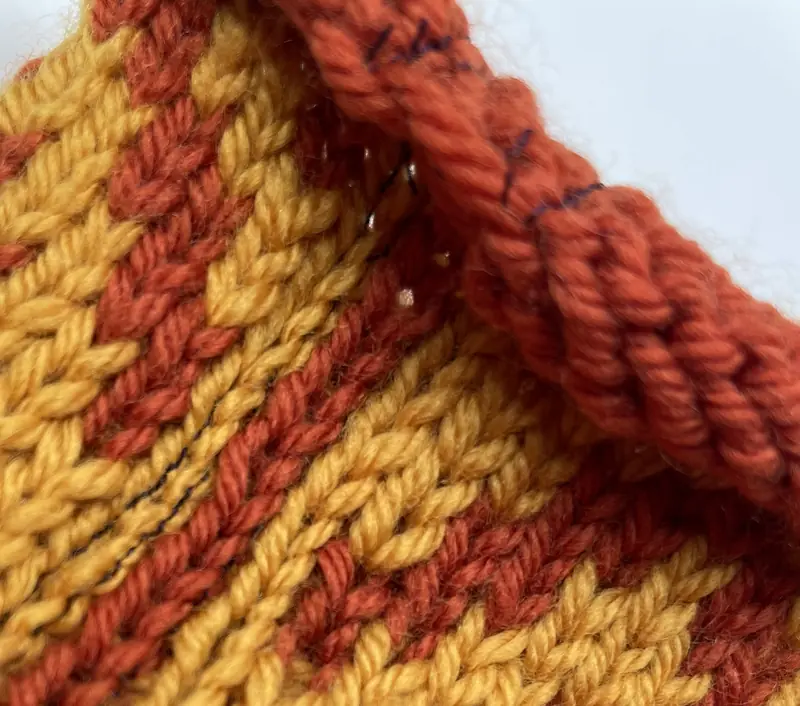
From the wrong side, all 4 lines are easy to see.
Step 5: Check your work
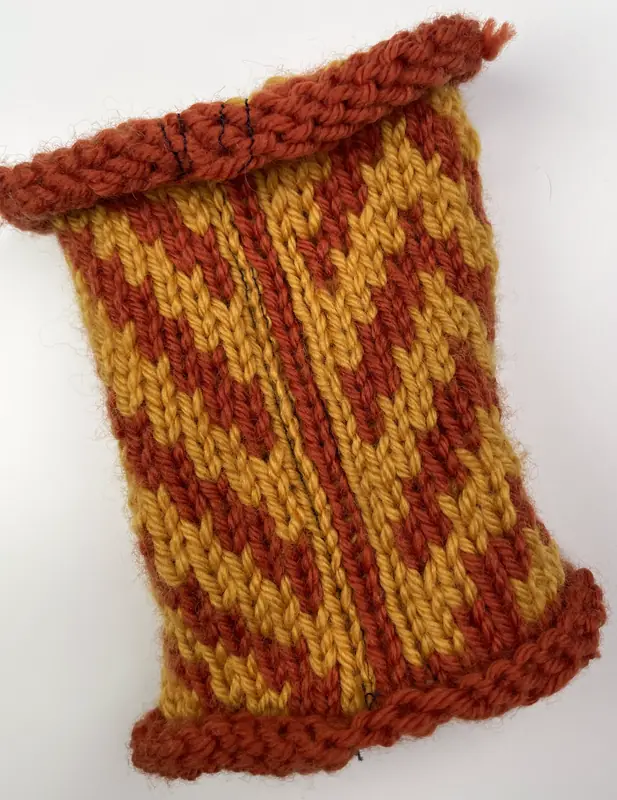
Look at both sides. Every round of the steek should be pierced by thread on both sides of the center stitch.
If the needle skipped over a round, sew that section again before you cut. This is the one step you can’t fix afterward.
On the right side, the stitching sits inside the steek stitches.
Step 6: Cut
Here’s the moment. Take a breath.
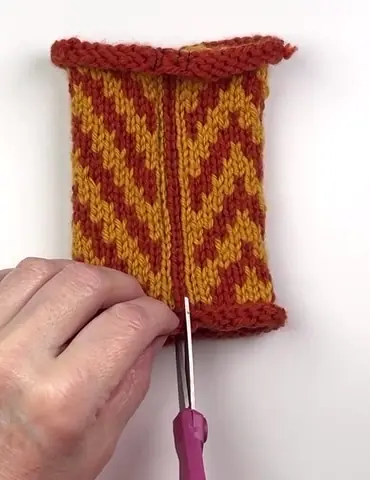
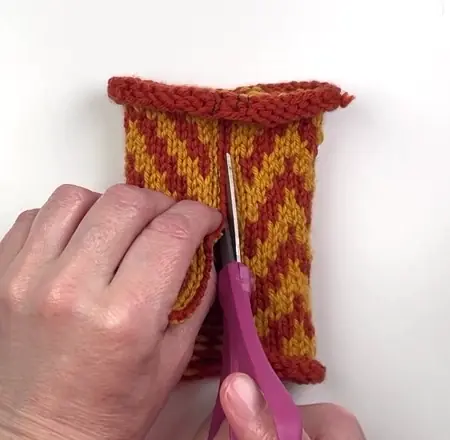
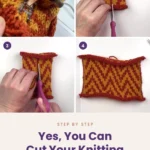
Starting at one edge, lift the strands of the center stitch away from the fabric and snip them, one round at a time. Cut only the center stitch, never the sewing lines.
Work your way up the column. The steek will open as you go.
Step 7: Inspect the cut edges
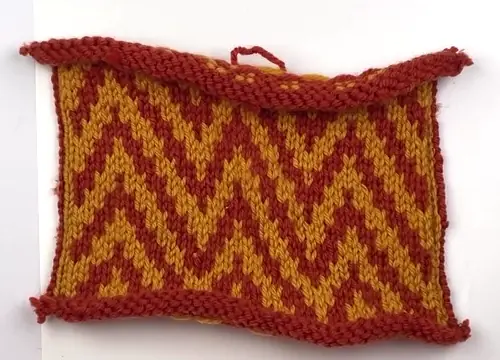
Give each cut edge a gentle tug. The stitches should stay put, held by the sewing.
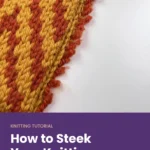
The edges will curl toward the wrong side. That is normal, and in a finished garment, that curl tucks behind a button band or facing.
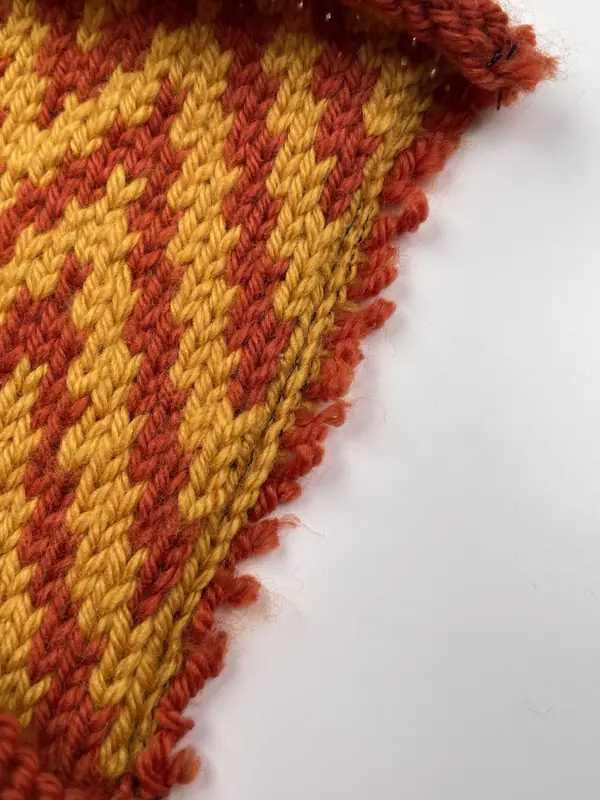
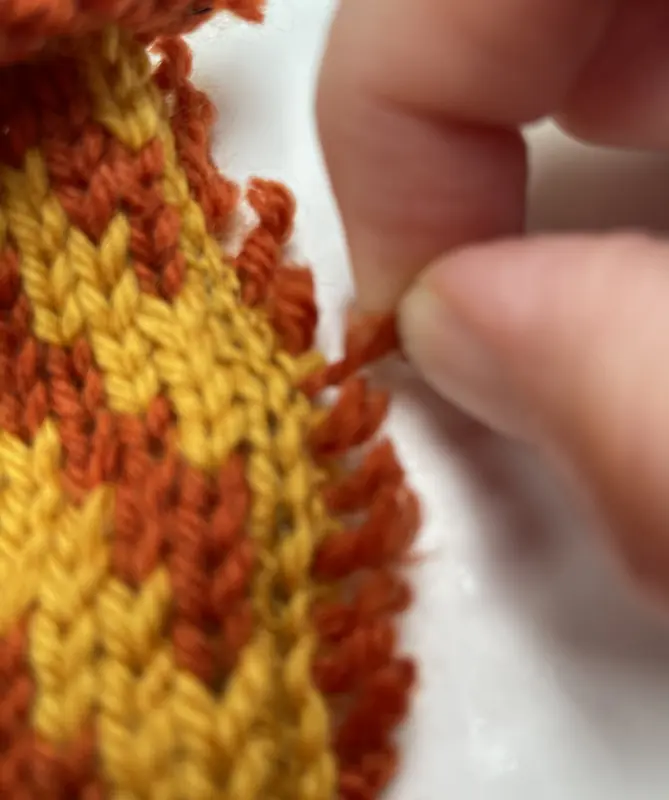
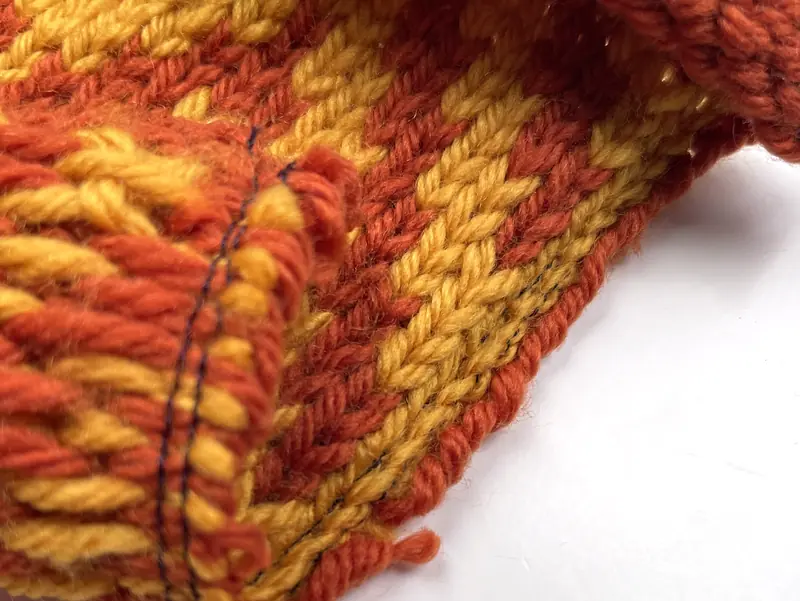
Swatch shown in Cascade 220 Superwash Merino Worsted, colors 05 Golden Yellow and 03 Rich Brown.
Steeking questions
Can I steek any yarn?
Yes, but the reinforcement changes. Grippy, untreated wool can be crocheted or even cut unreinforced. Superwash, cotton, plant fibers, and slippery blends need machine sewing.
Do I need a sewing machine?
For superwash, it’s the most secure option. You can hand-sew a tight backstitch instead, but it takes longer and is harder to keep even.
Why an odd number of steek stitches?
An odd number gives you a single center stitch to cut, with matching stitches on either side for the reinforcement.
Will the cut edges unravel in the wash?
Not if the sewing caught every round. In a finished piece, the edges are also enclosed under a band or facing.
Should I block before or after cutting?
Block after you cut.
Before cutting, the piece is still a tube, so it’s double thick. With stranded colorwork, that means 4 thicknesses of fabric to soak and dry.
What’s next
A cut steek is the start of a cardigan front, a vest armhole, or a neckline. These free tutorials cover the steps around it, from catching floats while you knit the colorwork to picking up stitches for a band.


Leave a Reply