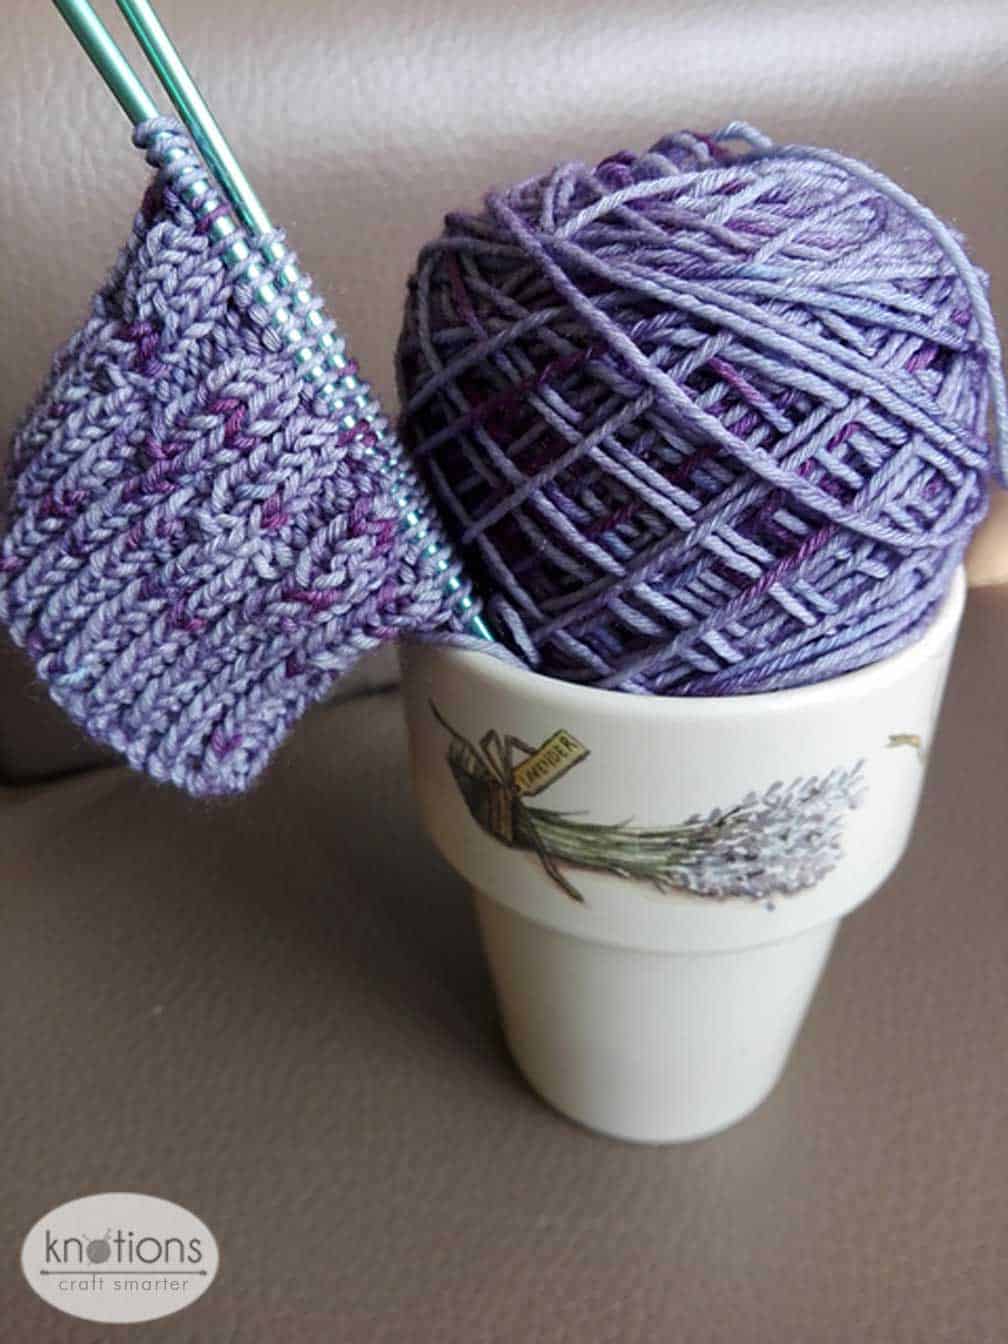
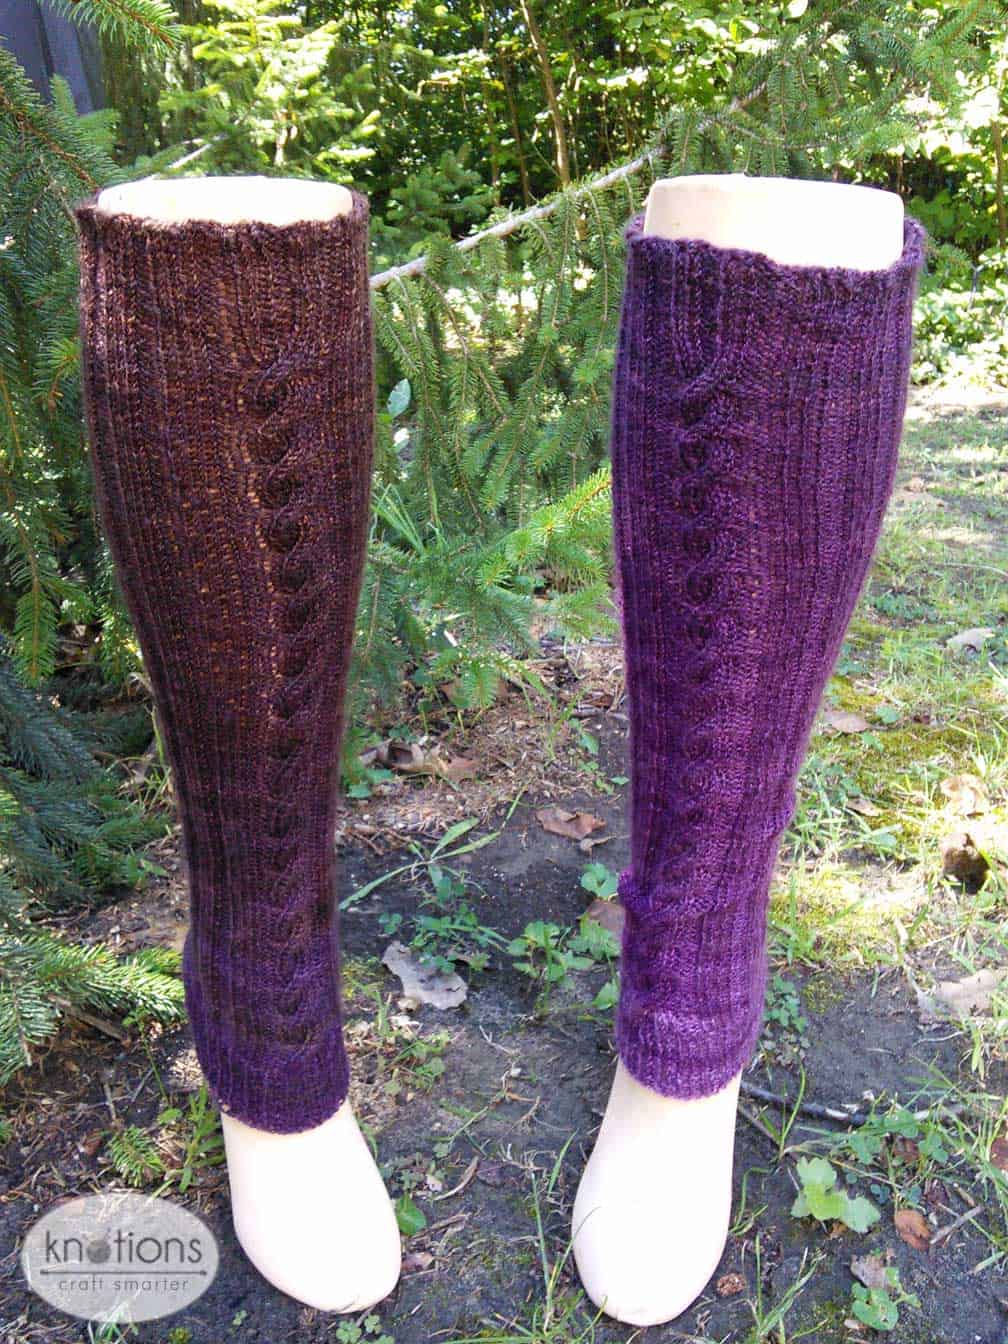
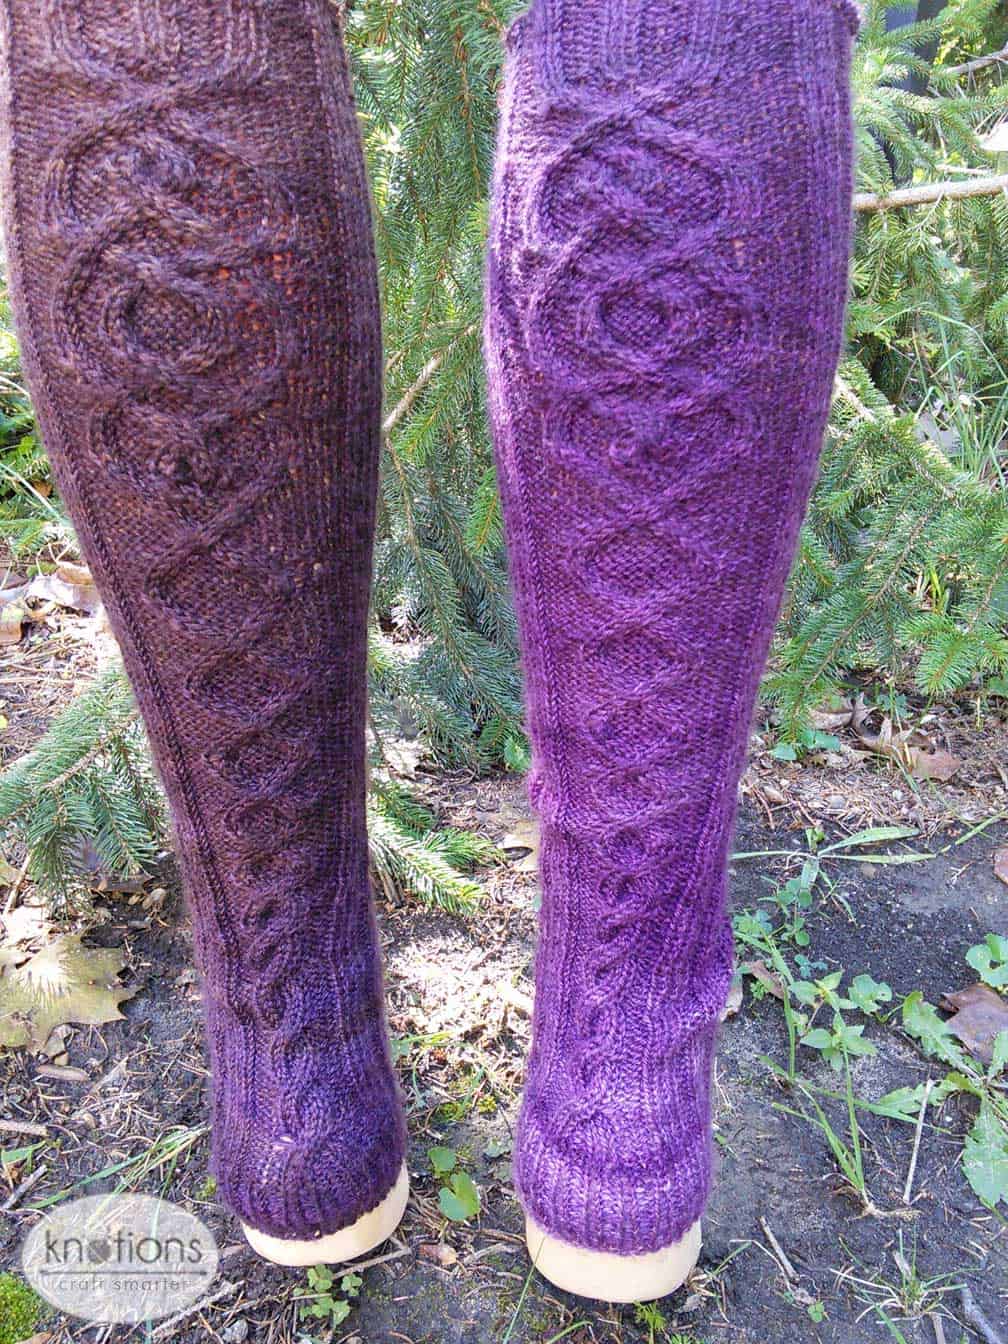
 These cabled leg and/or armwarmers are a must for the days when it starts to get cooler. They have an interesting cable all the way up the front, which is mirrored on the second one. It’s an easy to remember 8 row repeat. But the backside is the eye catcher, the same cables as the front grow out with hidden new stitches to form the warmers to make them fit perfectly!
The hidden increases and decreases are worked into the cable pattern, and the ribbing on the sides means these will fit anyone!


Size
14” / 35 cm long and also a 14″ / 35 cm circumference at the top. These have a lot of stretch to them, because of the ribbing, but you can make them bigger or smaller by using other needles/yarn or even adding some extra ribbing stitches along the side.

Yarn
Bart & Francis Pure Merino, 100% merino, 383 y/350 m per 100 grams; 1 full skein
or Garnstudio Drops Flora, 65% Wool, 35% Alpaca, 230y/210m per 50 grams; 1 ½ balls
or Ariel Evolution by Twisted Fiber Art, 100% wool, 340 y/311 meters per 70 grams; 1.25 balls (425y/389m)
Needles
Size US 3 (3.25 mm) 24” circular or sock – or best size to match gauge
Notions
cable needle
tapestry needle
stitch markers
row tracker or spare thread to mark rows
Gauge
with US 3 needles /3.25 mm: 14 sts and 21 rows = 2” [5 cm] in k3,p2 ribbing after wet blocking
Abbreviations
Please see our standard abbreviations.
Cable over 8 stitches; see pattern notes
Pattern Notes
I found it easiest to add a traveling stitch marker in the form of a length of different colored yarn, which I moved to the front or back every 4 rows. This way I always knew when to start a cable row on the front.
When doing the 4/4 cables, knit and purl the stitches as they come, so it will still be p1, k2, p2, k2, p1. The same for the cables over 3 stitches. Always purl the “background” stitch.
Use whichever m1purlwise method you prefer. I usually picked one loop up with the left needle and purled it through the back loop.
The charts are drawn only once, you can knit them the same or mirror them, by doing the 2/2 and 4/4 cables in the other direction.
If you want your legwarmers to be longer than the suggested pattern length, work an extra repeat of the cables on the front and back before starting with the backside charts.
Charts
Chart A

Chart B

Chart C

Pattern
Cuff: CO 56 sts using a stretchy cast on, such as the Long-tail cast on method. Join in the round, place a marker and work 10 rnds of 1 by 1 ribbing (k1, p1).
Knit the first chart (Chart A) twice around for front and back, placing a marker after st #28 (at the end of the first chart) to mark the beginning of the back side.
Work the first 15 rows of the chart on both front and back side; 60 sts
From this point on the backside will follow the second set of charts (charts B and C), and the front side with continue with the 8 row repeat marked in the purple box on chart A. (rows 8-15)
Finishing
After finishing chart C, work in the left over pattern of purl/knit ribbing for another 8-10 rounds. Bind off with a stretchy bind off method. Work away the yarn tails and try them on!
 About the Designer: Joyce Riemens
 About the Designer: Joyce Riemens
Joyce Riemens is a Dutch Canadian living in Holland with her Dutch husband and 3 daughters.
She grew up on the west coast of Canada, and moved to the Netherlands more than 14 years ago. When she’s not playing with wool, she’s either busy as a mom, cleaning, helping students with their English homework, and currently studying for an official TEFL diploma. She is an active member of Ravelry where she is known as “Dutchmama” and you can visit her design page here on Ravelry.


2/1 RPC could you please clarify. Would this be slip 1 stitch to cable needle . Hold in back. K2P1?
Thanks
Yes, that’s exactly it. And clearly we need to add a few more abbreviations to the list. Sorry about that!