This cable is a pretty one! But, it’s a bit different than the “standard” cables. Don’t fret though! It’s no more difficult than the others.

Regular directions
If you already know how to do the 2/3 RC Cable WITH a cable needle, you’re probably working something like this:
Sl3 sts onto cn and hold at back, k2, k3 from cn.
How to work the 2/3 LC Cable without a Cable Needle
Step 1: Bring working yarn to the front and slip next 3 sts to the RN.
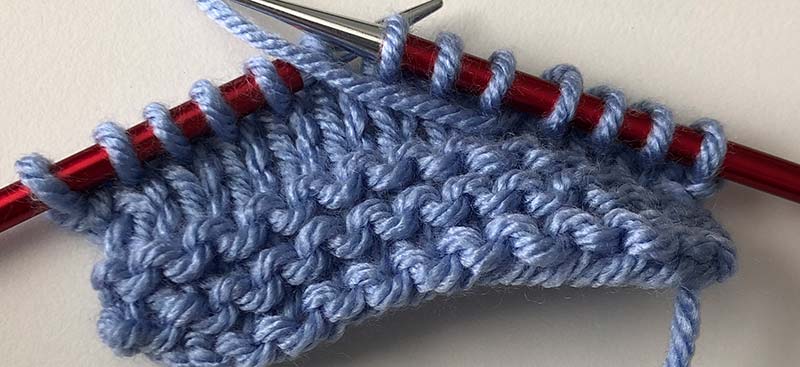
Don’t worry that this will make the working yarn drape across those sts. We’ll get rid of that before it’s done.
Step 2: Bring yarn to the back and k2.

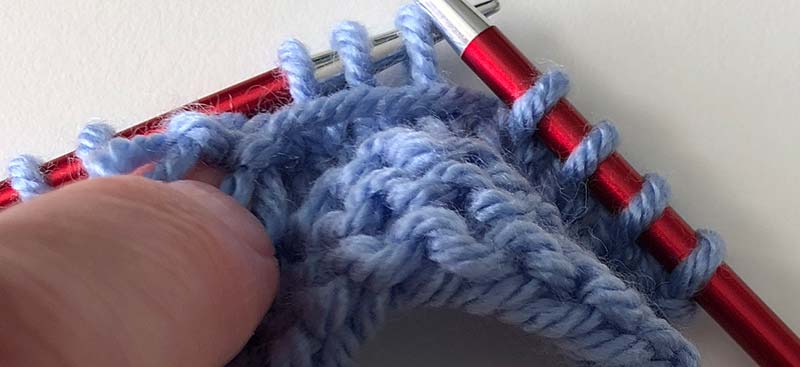
Step 3: Holding the LN behind the RN, put your LN through the 3 sts in Step 1.

From the front, pinch the 2 stitches from Step 2. Take those 2 stitches off the LN.

Step 4: Take the other 3 stitches off the RN as well. They’re also on the LN.
Step 5: Put the 2 stitches you pinched in Step 3 back onto the RN. K3 on the LN.

Now the stitches are crossed! You’re done.
Practice makes perfect
This is a great opportunity to practice on a small swatch to start. If you’re used to making cables without a cable needle, this one will be familiar. If this is a new thing, a 2/2 cable might be easier to start with because you’ll be creating less of a tug on the stitches.
About the Instructor: Jody Richards

Jody is the founder and lead editor of Knotions. She loves poring over stitch dictionaries and trying out new stitches.
She’s also on a mission to get everyone to embrace the blocking. And, to avoid using garter stitch edges in knit swatches made for gauge.
And while she likes all things crafting (well ok, except that one thing), yarn crafts are her true love (and she has the stash to prove it).


Leave a Reply