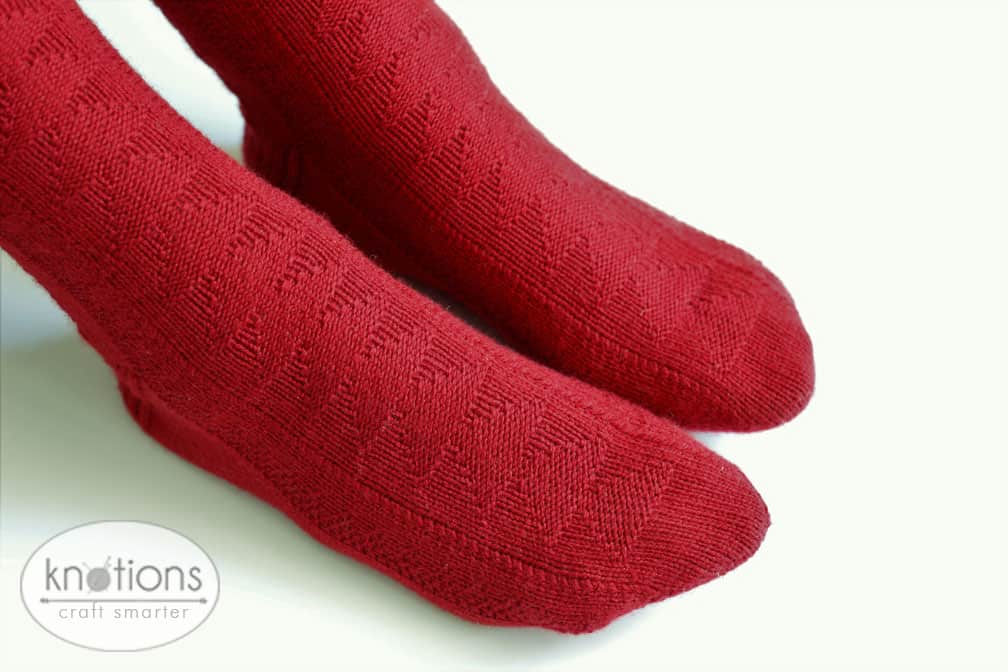
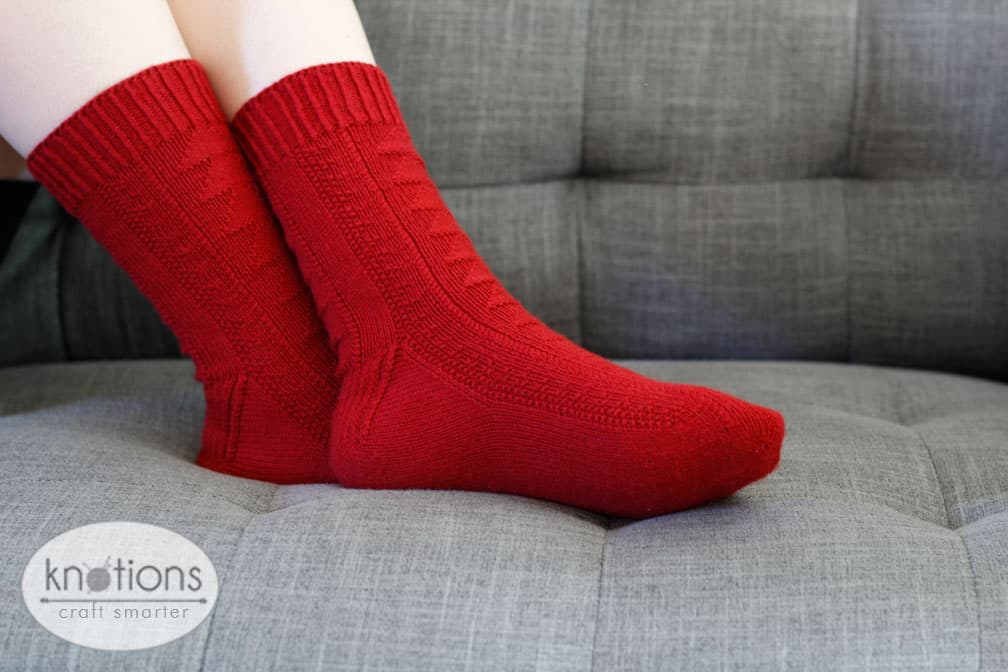
 Inspired by human interaction with spaces and the wonder of man-made creations, the Architectural Socks are an ode to the amazing buildings that make up all metropolitan environments. A bold and arching triangular motif decorates the centre of the foot and leg of your socks, with fun rope cables mimicking the function and ornamentation of structural columns. This pattern is best suited for solid yarn choices to really let those lovely textures pop!
Tutorials
Size
Small: EU 37 – 39/US 6 ½ – 8 ½ (approximately 7 ½” (19 cm) foot circumference)
Medium: EU 40 – 42/US 9 – 11 (approximately 8 ¾” (22 cm) foot circumference)
Large: EU 43 – 45/US 11 ½ – 13 ½ (approximately 9 ¾” (25 cm) foot circumference)

Yarn
White Gum Wool Sock 4ply (80% Merino, 20% Nylon; 472 m (516 yds)/100 g)
1 skein Hawthorn colorway, or 100 g fingering weight sock yarn.
Sample used approximately 68 g (321 m (351 yds)) for Medium Size pair of socks (US 9 ½/EU 40.5).
Needles
US 1 (2.25 mm), at least 32” (80 cm) length circular needle
Notions
2 removable stitch markers
Cable needle
Scissors
Tapestry needle
Tape measure
Sock blockers (optional)
Gauge
33 stitches x 48 rounds = 4″ (10 cm) in stockinette stitch on US 1 (2.25 mm) needles, knit in the round, relaxed after blocking.
Stockinette stitch = knit every round


Notes
Instructions are written for the Magic Loop method of working in the round, with a toe-up sock construction.
Instructions are to be worked from the beginning to end of each round, unless instructions are specified for stitches on first needle of the round (N1; top of foot/front of leg), and second needle of the round (N2; sole of foot/back of leg), separately.
A toe-up cast on, such as Judy’s Magic Cast On, and a stretchy bind off, such as the Decrease Bind Off, are recommended for beginning and finishing your socks. You will also need to know how to work short rows by wrapping stitches.
Stitch counts are written for Small Size with (Medium, Large) Size stitch counts in parentheses.
Abbreviations
Please see our standard abbreviations.
C2B: cable 2 behind (slip next stitch to cable needle and hold at back of work, k1, then knit stitch on cable needle
C2F: cable 2 forward (slip next stitch to cable needle and hold at front of work, k1, then knit stitch on cable needle.
M1L: make 1 left (with left hand needle, lift strand of yarn between next and just worked stitches from front to back, knit this strand through the back loop)
M1R: make 1 right (with left hand needle, lift strand of yarn between next and just worked stitches from back to front, knit this strand through the front loop)
N1: needle 1
N2: needle 2
pwise: purlwise (as if to purl)
tbl: through back loop(s)
Charts
Charts are worked from right to left every rnd, and from bottom to top.
*For the foot of the sock, Chart A is worked across sts on N1, sts on N2 are k to end. For the leg of the sock, Chart A is worked across sts on N1 and Chart B is worked across sts on N2.
Chart A

Rnd 1:
N1: k1, p1, k3 (4, 5), C2F, k1 (2, 3), p12, k1 (2, 3), C2B, k3 (4 ,5), p1, k1.
Rnd 2:
N1: p1, k1, p1, k5 (7,9), p12, k5 (7, 9), p1, k1, p1.
Rnd 3:
N1: (k1, p1) twice, k1 (2,3), C2F, k2 (3, 4), p10, k2 (3, 4), C2B, k1 (2, 3), (p1, k1) twice.
Rnd 4:
N1: p1, k1, p1, k6 (8,10), p10, k6 (8, 10), p1, k1, p1.
Rnd 5:
N1: k1, p1, k3 (4, 5), C2F, k3 (4, 5), p8, k3 (4, 5), C2B, k3 (4, 5), p1, k1.
Rnd 6:
N1: p1, k9 (11, 13), p8, k9 (11, 13), p1.
Rnd 7:
N1: k1, p1, k3 (4, 5), C2F, k4 (5, 6), p6, k4 (5, 6), C2B, k3 (4, 5), p1, k1.
Rnd 8:
N1: p1, k1, p1, k8 (10, 12), p6, k8 (10, 12), p1, k1, p1.
Rnd 9:
N1: (k1, p1) twice, k1 (2, 3), C2F, k5 (6, 7), p4, k5 (6, 7), C2B, k1 (2, 3), (p1, k1) twice.
Rnd 10:
N1: p1, k1, p1, k9 (11, 13), p4, k9 (11 ,13), p1, k1, p1.
Rnd 11:
N1: k1, p1, k3 (4, 5), C2F, k6 (7, 8), p2, k6 (7, 8), C2B, k3 (4, 5), p1, k1.
Rnd 12:
N1: p1, k12 (14, 16), p2, k12 (14, 16), p1.
Chart B

Rnd 1:
N2: k5 (6, 7), C2F, k1 (2, 3), p12, k1 (2, 3), C2B, k5 (6, 7).
Rnd 2:
N2: k8 (10, 12), p12, k8 (10,12).
Rnd 3:
N2: k5 (6, 7), C2F, k2 (3, 4), p10, k2 (3, 4), C2B, k5 (6, 7).
Rnd 4:
N2: k9 (11, 13), p10, k9 (11, 13).
Rnd 5:
N2: k5 (6, 7), C2F, k3 (4, 5), p8, k3 (4, 5), C2B, k5 (6, 7).
Rnd 6:
N2: k10 (12, 14), p8, k10 (12, 14).
Rnd 7:
N2: k5 (6, 7), C2F, k4 (5, 6), p6, k4 (5, 6), C2B, k5 (6, 7).
Rnd 8:
N2: k11 (13, 15), p6, k11 (13, 15).
Rnd 9:
N2: k5 (6, 7), C2F, k5 (6, 7), p4, k5 (6, 7), C2B, k5 (6, 7).
Rnd 10:
N2: k12 (14, 16), p4, k12 (14, 16).
Rnd 11:
N2: k5 (6, 7), C2F, k6 (7 ,8), p2, k6 (7, 8), C2B, k5 (6, 7).
Rnd 12:
N2: k13 (15, 17), p2, k13 (15, 17).
Socks (Make 2)
Toe
With US 1 (2.25 mm) needles and chosen toe-up method, cast on 12 (16, 20) sts (6 (8, 10) sts each on N1 and N2). Prepare to work in the rnd.
Rnd 1: k to end; 12 (16, 20) sts.
Rnd 2:
N1: k1, M1R, k to last st, M1L, k1; 8 (10, 12) sts.
N2: rep N1 instructions; 8 (10, 12) sts.
Rep Rnd 2 until you have 28 (32, 36) sts total (14 (16, 18) sts each on N1 and N2).
Rnd 3: k to end; 28 (32, 36) sts.
Rnd 4:
N1: k1, M1R, k to last st, M1L, k1; 16 (18, 20) sts.
N2: rep N1 instructions; 16 (18, 20) sts.
Rnd 5: k to end; 32 (36, 40) sts.
Rep Rnds 4 and 5 until you have 40 (44, 48) sts total (20 (22, 24) sts each on N1 and N2), ending with Rnd 5.
Rnd 6:
N1: k1, M1R, pm, C2F, k14 (16, 18), C2B, pm, M1L, k1; 22 (24, 26) sts.
N2: k1, M1R, k to last st, M1L, k1; 22 (24, 26) sts.
Rnd 7: k to end; 44 (48, 52) sts.
Rnd 8:
N1: k1, M1R, k to marker, slm, C2F, k14 (16,18), C2B, slm, k to last st, M1L, k1; 24 (26, 28) sts.
N2: k1, M1R, k to last st, M1L, k1; 24 (26, 28) sts.
Rnd 9: k to end; 48 (52, 56) sts.
Rep Rnds 8 and 9 until you have 56 (64, 72) sts total (28 (32, 36) sts each on N1 and N2), ending with Rnd 9. Remove markers.
Foot
BEGIN CHART A INSTRUCTIONS
*Chart is worked over sts on N1 only, sts on N2 are k to end.
Rep Rnds 1 to 12 until sock measures approximately 4 (4 ½, 5)” (10 (11.5, 13) cm) less than the length of the foot, measured from beginning of toe, and ending with Rnd 8 (4, 12). (Sample worked to 52 rnds total for Medium Size sock to fit a US 9 ½/EU 40.5).
Gusset Increases
Rnd 1:
N1: continue in pattern; 28 (32, 36) sts.
N2: k1, M1R, k to last st, M1L, k1; 30 (34, 38) sts.
Rnd 2:
N1: continue in pattern; 28 (32, 36) sts.
N2: k to end; 30 (34, 38) sts.
Rep Rnds 1 and 2 until you have 56 (64, 72) sts on N2 (84 [96, 108] sts total), ending with Rnd 2.
Next rnd:
Note: This is a partial rnd to set up working just the heel turn and flap.
N1: (Rnd 1 Chart A) OR k1, p1, k3 (4,5), C2F, k1 (2,3), p12, k1 (2,3), C2B, k3 (4,5), p1, k1.
N2: k14 (16,18).
You will now be working across the middle 28 (32, 36) sts from N2 only; these are the heel sts. Use markers if you wish to designate your gusset sts, which will be left unworked for now (14 (16, 18) sts just worked, and last 14 (16,18) sts on opposite end of N2), from the heel sts. Leave sts from N1 resting on the cable of your circular needle.
Heel Turn (worked flat)
Row 1 (RS): k26 (30,34), w&t.
Row 2 (WS): p24 (28,32), w&t.
Row 3 (RS): k22 (26,30), w&t.
Row 4 (WS): p20 (24,28), w&t.
Row 5 (RS): k18 (22,26), w&t.
Row 6 (WS): p16 (20,24), w&t.
Row 7 (RS): k14 (18,22), w&t.
Row 8 (WS): p12 (16,20), w&t.
Row 9 (RS): k10 (14,18), w&t.
Medium Size Only
Row 10 (WS): p12, w&t.
Row 11 (RS): k10, w&t.
Large Size Only
Row 10 (WS): p16, w&t.
Row 11 (RS): k14, w&t.
Row 12 (WS): p12, w&t.
Row 13 (RS): k10, w&t.
All Sizes
Row 10 (12, 14) (WS): P to end of heel sts/marker if used (p18 (20, 22)), picking up wraps and p them tog with the wrapped sts on the second half of the row. Turn.
Row 11 (13, 15) (RS): Sl1 pwise wyib, k to last heel st/1 st before marker if used (k26 (30, 34)), picking up wraps and k them tog tbl with the wrapped sts on the second half of the row. Remove marker, ssk last heel st tog with the first gusset st. Turn.
Row 12 (14, 16) (WS): Sl1 pwise wyif, p to last heel st/1 st before marker if used (p26 (30 ,34)). Remove marker, p last heel st tog with the first gusset st on this side. Turn.
Heel Flap (worked flat)
Worked across existing 28 (32, 36) heel sts, with one gusset st decreased at the end of every row.
Row 1 (RS): *sl1 pwise wyib, k1* to last 2 sts, sl1 pwise wyib, ssk last heel st tog with next gusset st. Turn.
Row 2 (WS): sl1 pwise wyif, p to last st, p last heel st tog with next gusset st. Turn.
Rep Rows 1 and 2 until all gusset sts have been worked, ending with Row 2 (13 (15 ,17) reps total).
AFTER HEEL FLAP (RS): (Rnd 1 Chart B) OR k5 (6, 7), C2F, k1 (2, 3), p12, k1 (2, 3), C2B, k5 (6, 7).
Resume working in the rnd; 56 (64, 72) sts
Leg
RESUME CHARTED INSTRUCTIONS, WORKING CHART A OVER STS ON N1 AND CHART B OVER STS ON N2
*Charts resume with Rnd 2.
Continue to rep Rnds 1 to 12 until leg of sock reaches desired length, ending with Rnd 12 (sample worked to 72 rnds total).
Next Rnd:
N1: k5 (6, 7), C2F, k14 (16, 18), C2B, k5 (6, 7).
N2: rep N1 instructions.
Cuff
Rnds 1 to 20: *k1tbl, p1* to end.
FINISHING
Bind off all sts using stretchy method of choice. We recommend the Decrease Bind-Off.
Weave in all ends and wet block socks (using sock blockers to shape your socks as they dry is optional, but recommended).
 About the Designer: Jessica Gore
 About the Designer: Jessica Gore
Jessica Gore is a designer living in Adelaide, South Australia, and has been a fiber fan her entire life. She loves creating knitwear as it combines her passions in art, expression, sustainability, meditation, and the pure joy derived through making things for yourself. Her biggest inspiration is the local environment, but sometimes the wool decides for itself what it wants to be!


Leave a Reply